Vegan Recipes
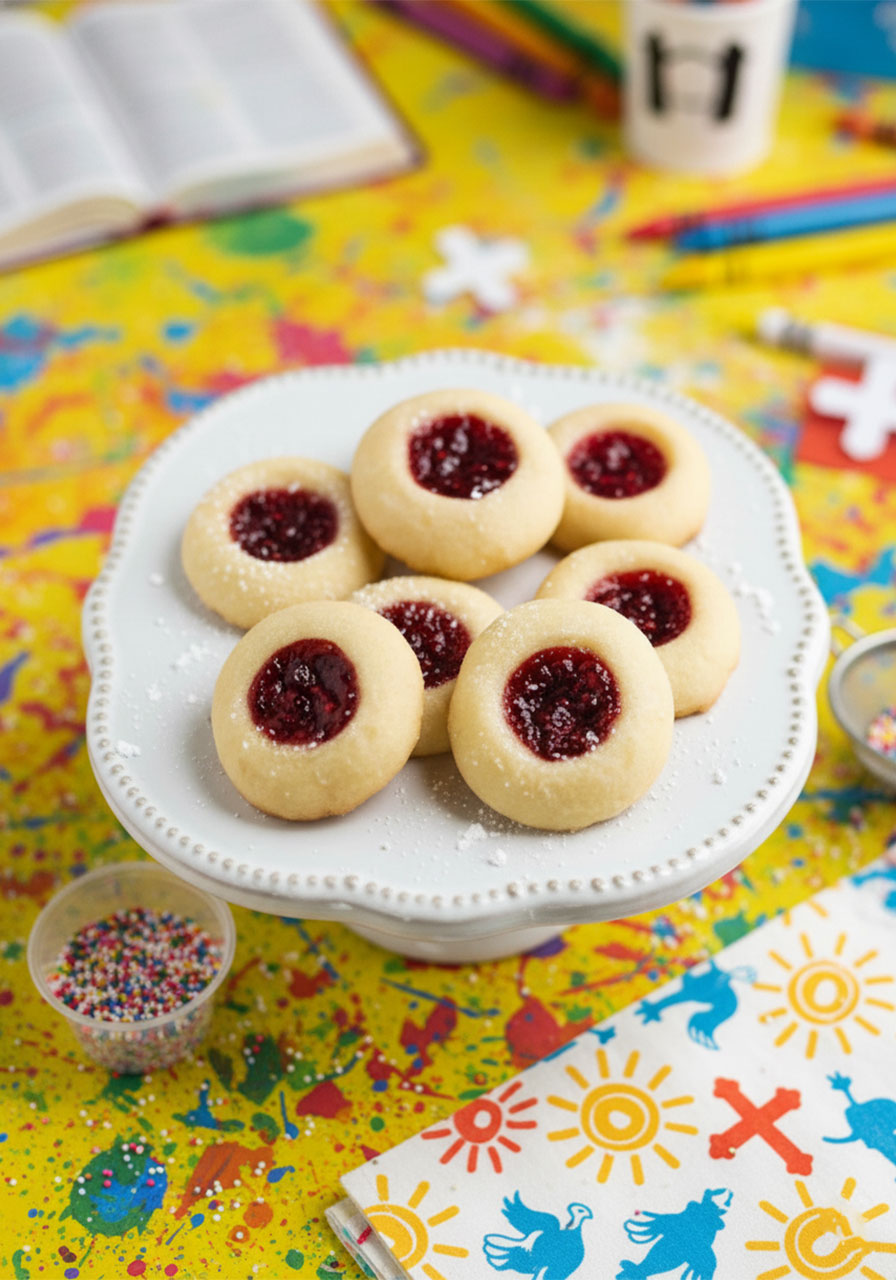
Vegan Thumbprint Cookies with Raspberry Jam (Easy, Buttery & Melt-in-Your-Mouth Good)
May
There’s something about a batch of freshly baked cookies that just makes everything feel a little more peaceful.
The smell filling your kitchen. The warmth of the oven. The simple joy of making something with your own hands.
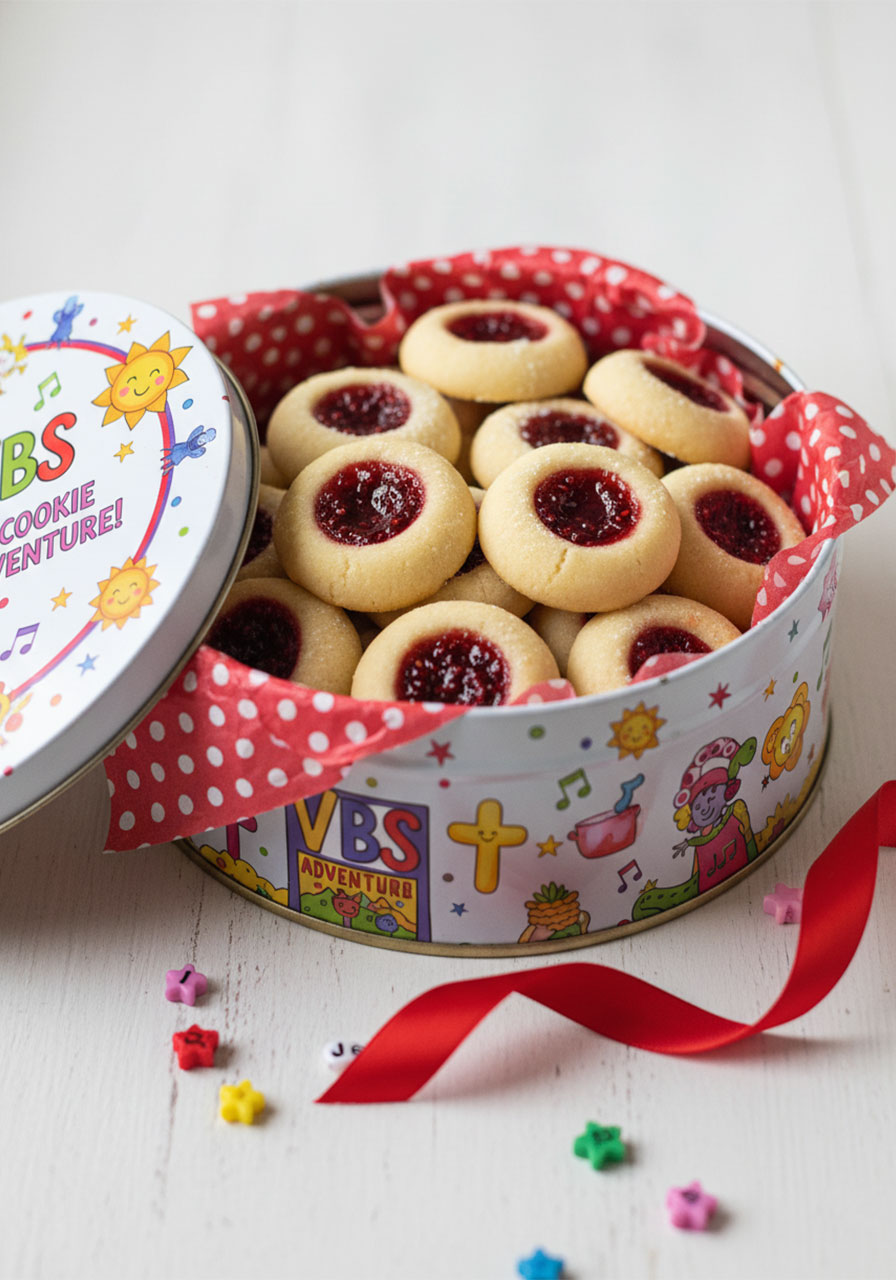
If you’re looking for a cookie that’s easy enough for a weeknight but beautiful enough for a holiday cookie tin or a church gathering – this is it.
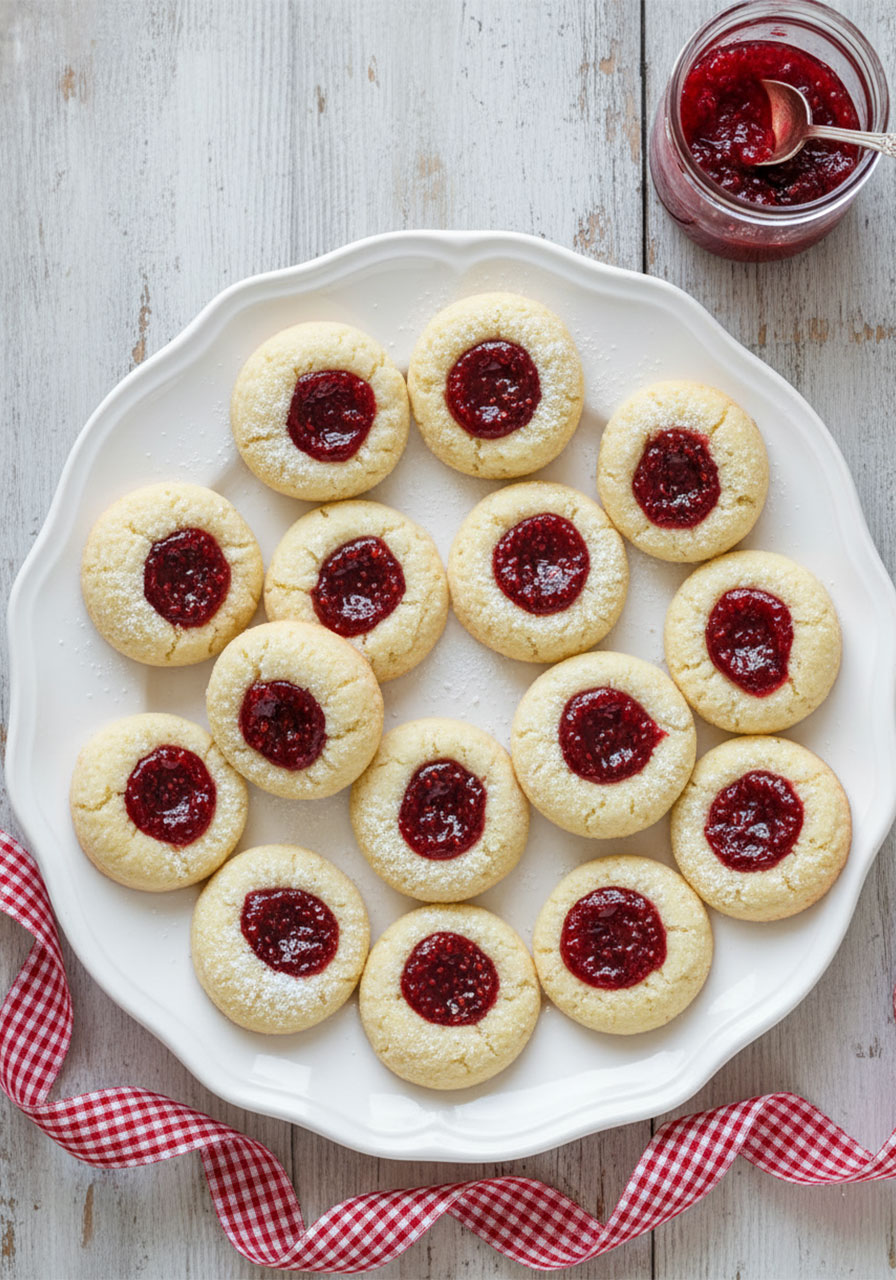
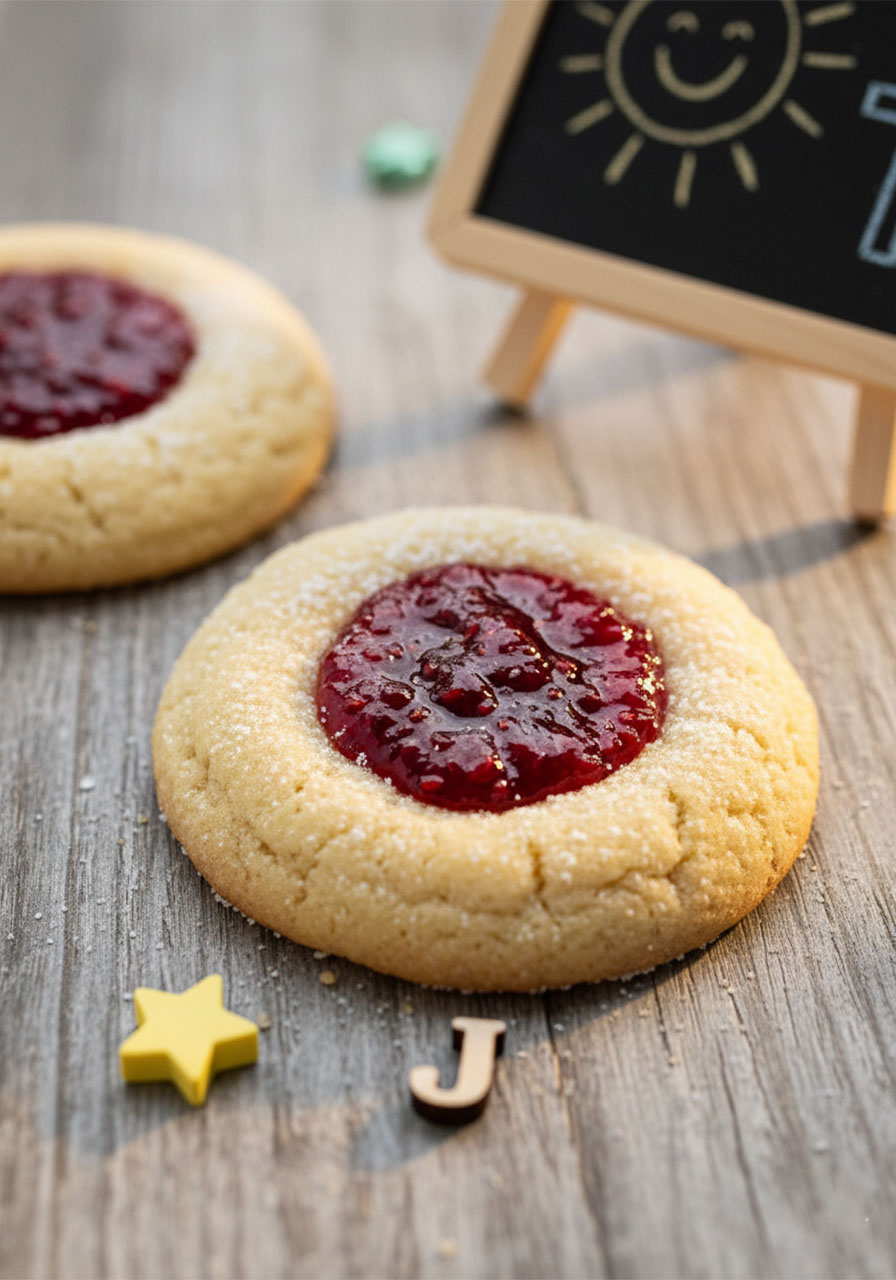
These Vegan Thumbprint Cookies with Raspberry Jam are buttery and soft with just the right amount of sweetness. The little well of bright jam in the center makes them look gorgeous without any extra effort.
And yes – they are completely vegan. No butter, no eggs, no dairy. But nobody would ever know.
They’re the kind of cookies that bring smiles. And right now, we could all use more of those.
In This Post, You’ll Find:
- Why these cookies are worth making (and sharing)
- Simple step-by-step instructions with tips that actually work
- Answers to common questions about the dough, storage, and swaps
- A full recipe card at the bottom
A Little Encouragement Before We Start
There’s a quiet kind of grace in the act of baking for others.
Whether you’re making these for your family, for a neighbor going through a hard season, or just for yourself as a moment of rest – it matters.
“She opens her arms to the poor and extends her hands to the needy.” – Proverbs 31:20
Small acts of care are never small. A plate of cookies left on someone’s doorstep, a tin passed around after Sunday service, a quiet afternoon in the kitchen – these are the everyday ways we love people well.
Now let’s get baking.
Why You’ll Love These Vegan Thumbprint Cookies
This isn’t a complicated recipe. That’s the whole point.
You don’t need any fancy skills. You don’t need a long ingredient list. And you don’t need to spend hours in the kitchen.
Here’s what makes these cookies so great:
- Buttery texture without any dairy – vegan butter does all the work
- Only 7 ingredients – most of which you probably already have
- Ready in about 35 minutes from start to finish
- Naturally egg-free – no flax eggs, no substitutions needed
- Perfect for sharing – they travel well and look beautiful
- Customizable – use any jam you love
They’re soft but not too fragile. Sweet but not over-the-top. Simple but still a little special.
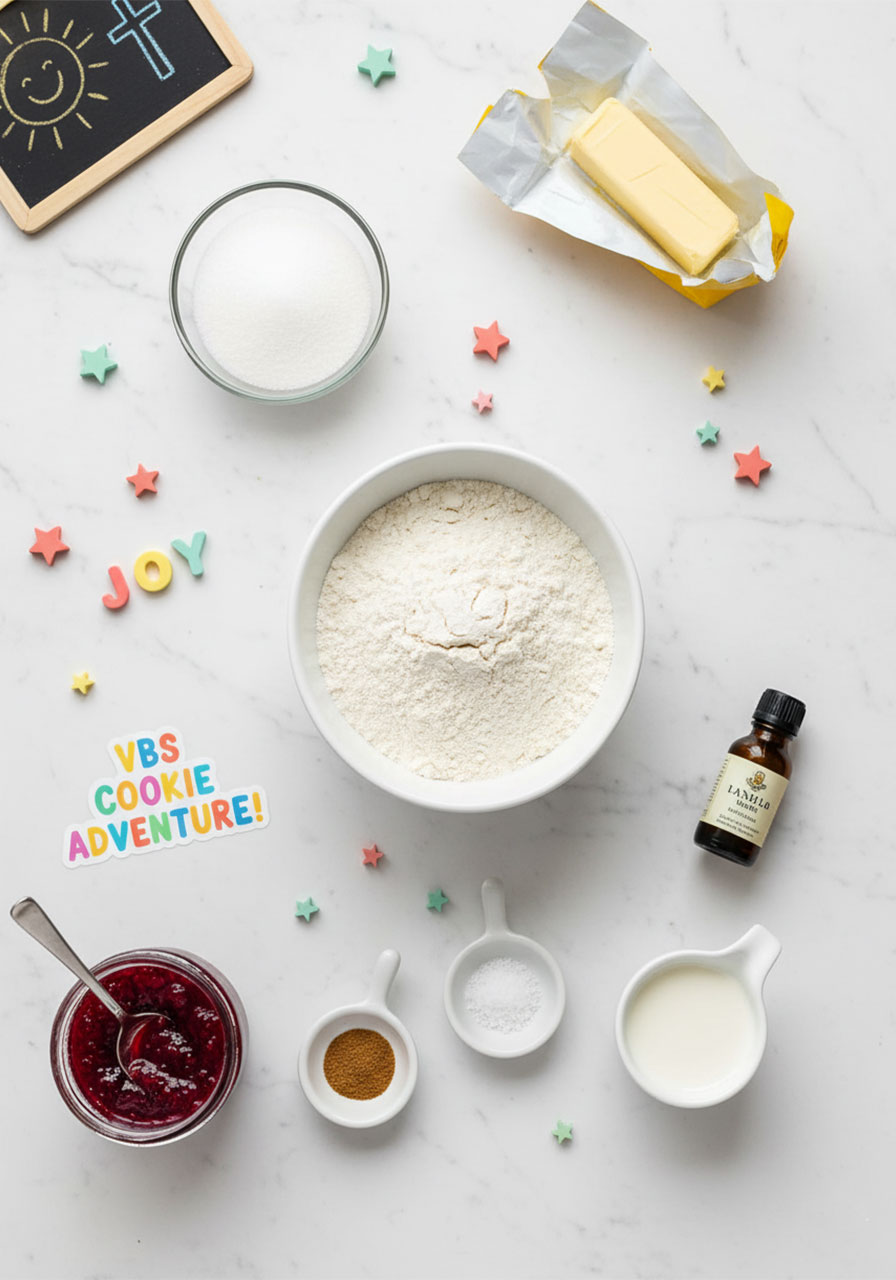
What You’ll Need
The ingredient list for these cookies is beautifully short. Here’s what to grab:
- 2 cups all-purpose flour
- ½ teaspoon salt
- ½ cup granulated sugar
- ¾ cup vegan stick butter, slightly softened
- 2 tablespoons almond milk (or any plant-based milk)
- 1 teaspoon vanilla extract
- ½ teaspoon almond extract (optional, but it makes a difference)
- ⅓ cup raspberry jam (or your favorite jam)
- Powdered sugar for dusting (optional)
A note on the butter: use vegan stick butter, not the tub kind. Stick butter has less moisture and gives the cookies a much better texture. Brands like Earth Balance or Miyoko’s work wonderfully here.
And if you can’t find raspberry jam, don’t stress. Strawberry, cherry, apricot, or even homemade cranberry sauce all work beautifully.
How to Make Vegan Thumbprint Cookies (Step by Step)
This recipe comes together in a handful of easy steps. Let’s walk through it together.
Step 1: Preheat and Prep
Preheat your oven to 350°F (177°C).
Line a large baking sheet (or two medium ones) with parchment paper. Set it aside.
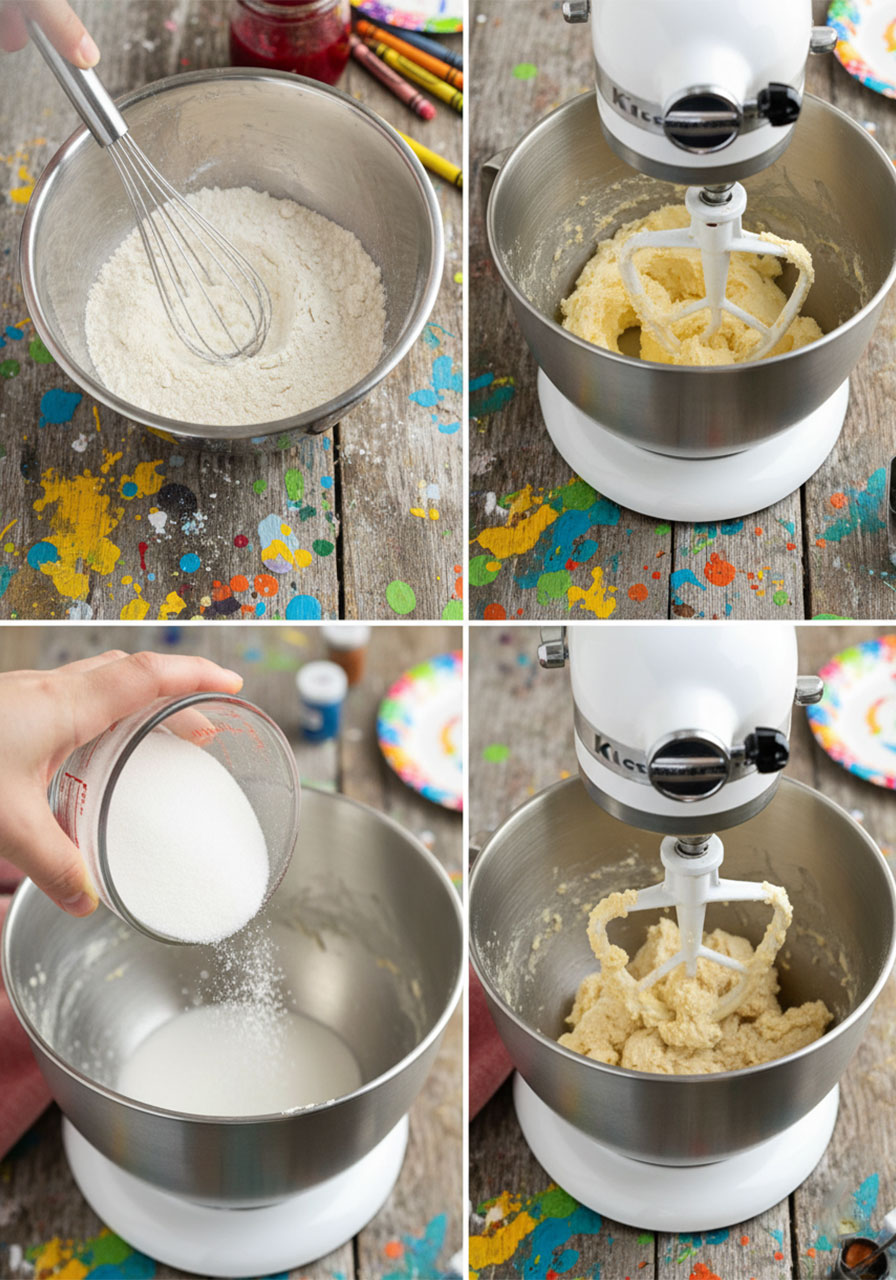
Step 2: Whisk the Dry Ingredients
In a medium bowl, whisk together the flour and salt until combined. Set aside.
This small step keeps the salt evenly distributed through the dough. It’s quick and worth doing.
Step 3: Cream the Butter and Sugar
Add the slightly softened vegan butter to a stand mixer (or large bowl if using a hand mixer). Beat on medium for about 30 seconds until creamy.
Add the sugar and beat again until incorporated, about 30–60 seconds. Scrape down the sides of the bowl as needed.
Add the vanilla extract and almond extract and mix until combined.
Step 4: Add the Flour
Turn the mixer to low speed. Gradually add the flour mixture and mix just until the dough starts to come together.
Don’t over-mix. Over-mixing develops the gluten and makes the cookies tough instead of tender.
Add the 2 tablespoons of almond milk and mix on low until the dough comes together fully.
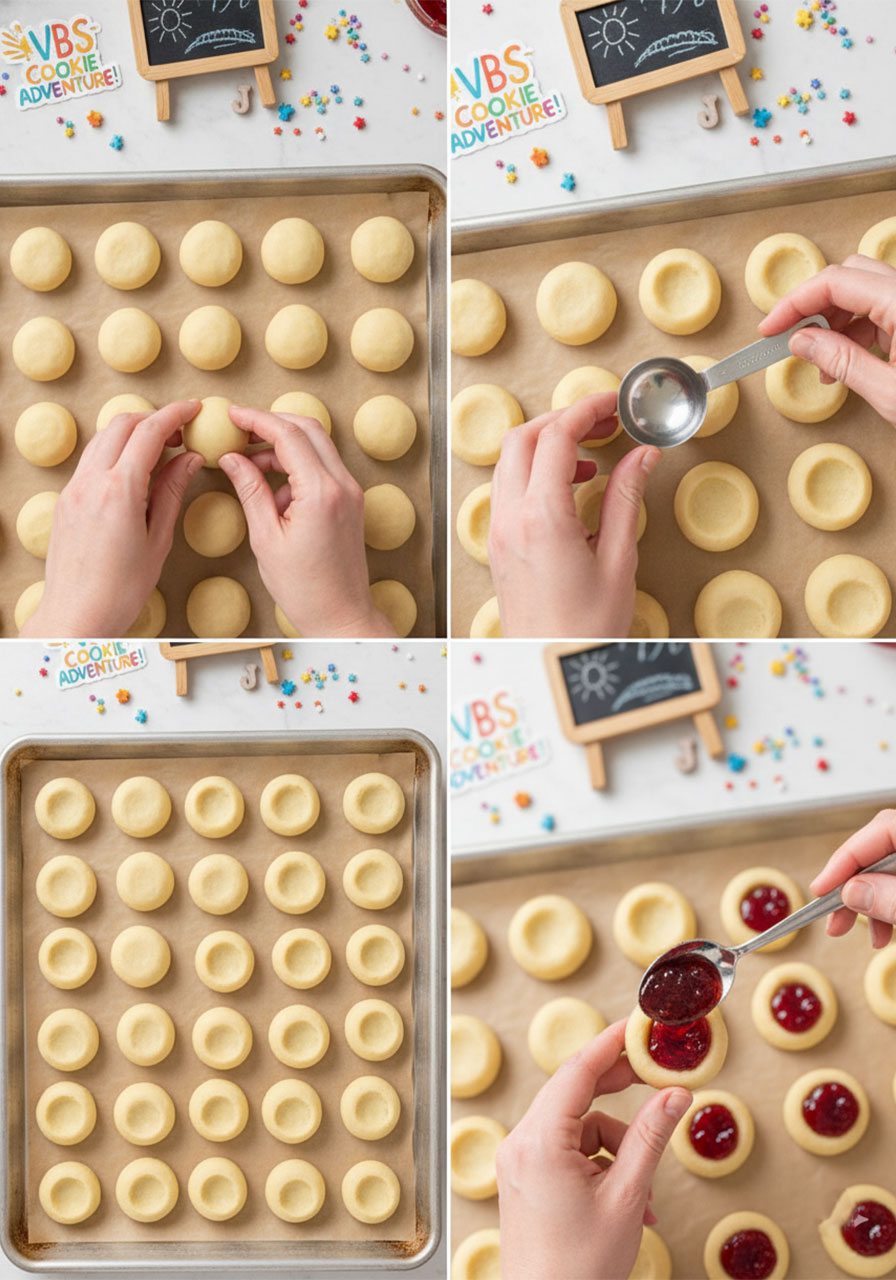
Step 5: Roll the Dough into Balls
Using a half-tablespoon measuring spoon, scoop the dough and roll it into smooth balls with your palms.
Place the balls on your prepared baking sheet about 1½ inches apart.
Try to keep them consistent in size so they bake evenly. It also makes them look prettier.
Step 6: Make the Indentations
Here’s the fun part. Using the back of a ¼ teaspoon (or your index finger), gently press down into the center of each ball about halfway through.
Don’t press all the way to the bottom – the jam will leak out during baking.
Pro tip: Make the indentation right after rolling each ball, rather than rolling all the balls first. This helps prevent cracking. If you do see small cracks, smooth them gently with your finger – or just leave them. A little imperfection adds character.
Step 7: Fill with Jam
Using a small spoon (or a piping bag if you want to be fancy), fill each cookie well with jam.
Don’t overfill. A small, neat spoonful is all you need. Too much jam will bubble over the edges during baking.
Step 8: Bake
Bake for 13–15 minutes, until the bottoms are just lightly golden.
These cookies are meant to be soft and tender. Don’t wait for the tops to brown – that’s a sign they’ve gone too far.
Carefully lift one cookie and check the bottom. Lightly golden = done.
Step 9: Cool and Dust
Let the cookies cool on the baking sheet for 5–10 minutes before moving them. They’re fragile when hot.
Transfer to a cooling rack and let them rest another 10 minutes. Dust with powdered sugar if desired.
Then step back and admire what you just made. They’re beautiful.
Tips for the Best Thumbprint Cookies
A few small details make a big difference with this recipe. Here’s what to keep in mind:
Measure flour correctly. Don’t scoop the measuring cup directly into the flour bag. Instead, spoon flour into the measuring cup, then level it off with a knife. Scooping directly packs the flour and adds too much, which makes the cookies dry.
Use stick butter, not tub butter. Tub vegan butter has more water content, which can make the dough too soft and affect the texture of the final cookie.
Don’t skip the almond extract. It’s optional, but it gives these cookies that classic, bakery-style flavor that makes them taste extra special.
If your dough is too soft, wrap it in plastic wrap and chill for 15–20 minutes before rolling. The dough will soften again as you work, so try to roll quickly.
If your dough is too dry or crumbly, add ½ teaspoon of non-dairy milk at a time and gently work it in until the dough holds together.
Make the indent right after rolling each ball. This is the single best tip for avoiding cracks.
Don’t Have an Electric Mixer? No Problem.
You can absolutely make these cookies by hand. They might be ever so slightly less fluffy, but they’ll still be delicious.
Here’s how to do it:
Soften the butter enough to work with – not melted, just soft enough to mash easily.
In a large bowl, break down the butter with a wooden spoon or silicone spatula. Work it for about a minute until you have a creamy texture.
Add the sugar and mash it together with the butter using a large fork. Then whip it until soft and fluffy.
Add the extracts and stir to combine. Then add the flour and mix until just combined. Add the non-dairy milk and mix until a dough forms.
From there, follow the recipe as written. Easy.
Does the Dough Need to Be Chilled?
Not always – but sometimes.
In most cases, you can go straight from mixing to rolling without chilling the dough. Work fairly quickly and your dough will stay in great shape.
But you should chill the dough if:
- It feels sticky or too soft to roll into balls
- The balls aren’t holding their shape
- Your kitchen is warm
If any of that sounds familiar, just wrap the dough in plastic wrap and chill for 15–20 minutes. That’s all it needs.
What Jam Can You Use?
Raspberry jam is the classic choice, and it’s wonderful. But this recipe works with just about any jam or preserve you love.
Some great options:
- Strawberry jam – sweet and bright
- Apricot preserves – slightly tangy and gorgeous in color
- Blueberry jam – rich and deep
- Cherry preserves – a little bold and beautiful
- Homemade cranberry sauce – perfect for holiday baking
If you want to make your own homemade raspberry jam for this recipe, it’s easier than you might think. A simple stovetop jam takes less than 20 minutes and tastes incredible.
How to Store These Cookies
Store your finished cookies in an airtight container at room temperature for 5–7 days.
They stay soft and delicious for the whole week – if they last that long.
Can You Freeze the Dough?
Yes! The dough freezes well.
Wrap it tightly in plastic wrap and freeze. When you’re ready to bake, move the dough to the fridge to thaw overnight, then leave it on the counter for 15–20 minutes before shaping and baking.
You can also freeze the shaped, unfilled dough balls. Freeze them on a baking sheet first so they don’t stick, then transfer to an airtight bag. Bake straight from frozen, adding a few extra minutes to the bake time.
These Cookies Were Made for Sharing
One of the most beautiful things about baking is that it’s inherently generous.
You make more than you can eat. And then you give some away.
These thumbprint cookies are perfect for:
- Holiday cookie tins for neighbors and friends
- Church potlucks and gatherings
- Teacher appreciation gifts
- Cookie exchanges
- A simple “I’m thinking of you” for someone going through a hard season
They travel well. They look beautiful. And they taste like they took way more effort than they did.
There’s real joy in handing someone a box of something you made yourself. Don’t underestimate that.
Faith Note: Nourishment Is a Gift
Scripture reminds us that our bodies are temples – worth caring for, worth nourishing, worth tending with intention.
“Do you not know that your bodies are temples of the Holy Spirit, who is in you, whom you have received from God?” – 1 Corinthians 6:19
Choosing wholesome, plant-based ingredients isn’t about being perfect. It’s about being thoughtful.
These cookies are made from simple, real ingredients. They’re a small act of stewardship – and a sweet reminder that good things don’t have to be complicated.
Frequently Asked Questions
Can I make these without an electric mixer?
Yes, absolutely. You can mix everything by hand using a wooden spoon or spatula. The cookies might be slightly less fluffy, but they’ll still be delicious. See the full hand-mixing method in the post above.
Can I use regular butter instead of vegan butter?
If you’re not vegan, regular unsalted butter works perfectly in this recipe with no other changes.
Why did my cookies crack?
A little cracking is totally normal and doesn’t affect the taste at all. To minimize cracking, make the indentation right after rolling each ball (rather than rolling all balls first), and make sure your balls are smooth before pressing.
Can I use frozen fruit instead of jam?
Jam works best here since it holds its shape during baking. Frozen fruit has too much liquid and may make the cookies soggy.
Do these cookies need to be refrigerated?
No. Store them in an airtight container at room temperature for up to a week.
Can I freeze the baked cookies?
Yes! Let them cool completely, then freeze in a single layer on a baking sheet. Once solid, transfer to an airtight container. Thaw at room temperature when ready to eat.
Can I add chocolate to this recipe?
Many bakers have tried adding cocoa powder to create a chocolate version. If you go this route, start with 2–3 tablespoons of cocoa powder and slightly reduce the flour by the same amount. You may need an extra splash of non-dairy milk to bring the dough together.
What is vegan stick butter?
Vegan stick butter is a plant-based butter that comes in a stick or block form (not a tub). It has less moisture than tub varieties, which gives baked goods a better texture. Brands like Earth Balance Buttery Sticks or Miyoko’s Creamery work great in this recipe.
Quick Recipe Checklist
✅ Preheat oven to 350°F and line baking sheet with parchment
✅ Whisk flour and salt together
✅ Cream vegan butter until smooth, then add sugar
✅ Mix in vanilla and almond extract
✅ Gradually add flour on low speed – don’t over-mix
✅ Add almond milk to bring dough together
✅ Roll into balls and place on baking sheet
✅ Make indentation right after rolling each ball
✅ Fill each well with jam – don’t overfill
✅ Bake 13–15 minutes until bottoms are lightly golden
✅ Cool on pan, then transfer to rack and dust with powdered sugar
One Last Thought
Some of the sweetest moments in life happen in the kitchen.
Slow mornings. A warm oven. Something good baking while you hum along to a favorite song.
These thumbprint cookies are a small thing. But small things done with love add up to something beautiful.
We hope these bring a little warmth to your table – and a little sweetness to someone else’s day.
If you make them, we’d love to know how they turned out. Leave a comment below and share the joy.
Explore more wholesome recipes and faith-inspired self-care routines on the Christian Faith Goods blog.
A Simple Prayer for Your Kitchen
Lord, thank You for simple pleasures – warm kitchens, sweet smells, and the gift of hands that can create and give.
May what I make here nourish the people I love.
May every act of baking be a small act of love.
And may the joy of giving never grow old.
Amen.

Vegan Thumbprint Cookies with Raspberry Jam
Ingredients
- 2 cups all-purpose flour (spooned and leveled, not packed)
- ½ teaspoon salt
- ½ cup granulated sugar
- ¾ cup vegan stick butter, slightly softened
- 2 tablespoons almond milk (or any plant-based milk)
- 1 teaspoon vanilla extract
- ½ teaspoon almond extract (optional)
- ⅓ cup raspberry jam (or any jam you love)
- Powdered sugar for dusting (optional)
Instructions
- Preheat oven to 350°F (177°C). Line a large baking sheet with parchment paper. Set aside.
- In a medium bowl, whisk together flour and salt. Set aside.
- Add softened vegan butter to the bowl of a stand mixer fitted with a paddle attachment (or use a large bowl with a hand mixer). Beat on medium for about 30 seconds until creamy.
- Add sugar and beat on medium for 30–60 seconds until incorporated. Scrape down sides as needed. Add vanilla extract and almond extract. Mix on medium for 30 seconds until combined.
- Turn mixer to low. Gradually add the flour mixture and mix until just combined and dough starts to form, about 30–60 seconds. Do not over-mix. Scrape down sides as needed. Add the 2 tablespoons of almond milk and mix on low until fully combined.
- Using a half-tablespoon measuring spoon, scoop dough and roll into smooth balls. Place on the prepared baking sheet about 1½ inches apart.
- Immediately after rolling each ball, make an indentation using the back of a ¼ teaspoon or your index finger. Press down gently about halfway through – not all the way to the bottom. Smooth any cracks with your fingers or leave them as-is.
- Using a small spoon or piping bag, fill each cookie well with jam. Do not overfill.
- Bake for 13–15 minutes until the bottoms are lightly golden. Do not overbake – the tops will not brown much. Remove from oven and cool on baking sheet for 5–10 minutes before transferring to a wire rack.
- Cool for another 10 minutes on the rack. Dust with powdered sugar if desired. Serve and enjoy.
Notes
- Measuring flour: Spoon flour into the measuring cup and level off with a knife. Do not scoop directly from the bag – this packs the flour and adds too much.
- Dough too soft or sticky? Wrap in plastic wrap and chill for 15–20 minutes before rolling.
- Dough too dry or crumbly? Add ½ teaspoon of non-dairy milk at a time until the dough comes together.
- No electric mixer? Soften the butter well and use a wooden spoon and large fork to cream the butter and sugar by hand. Proceed as directed.
- Jam options: Strawberry, apricot, blueberry, cherry, or homemade cranberry sauce all work beautifully.
- Freeze the dough: Wrap tightly in plastic wrap and freeze. Thaw in the fridge overnight, then let rest at room temperature 15–20 minutes before shaping.
- Storage: Store in an airtight container at room temperature for 5–7 days.