
Vegan Recipes
Chocolate Chip Banana Bread (No Eggs, Super Moist!) – The Only Recipe You’ll Ever Need
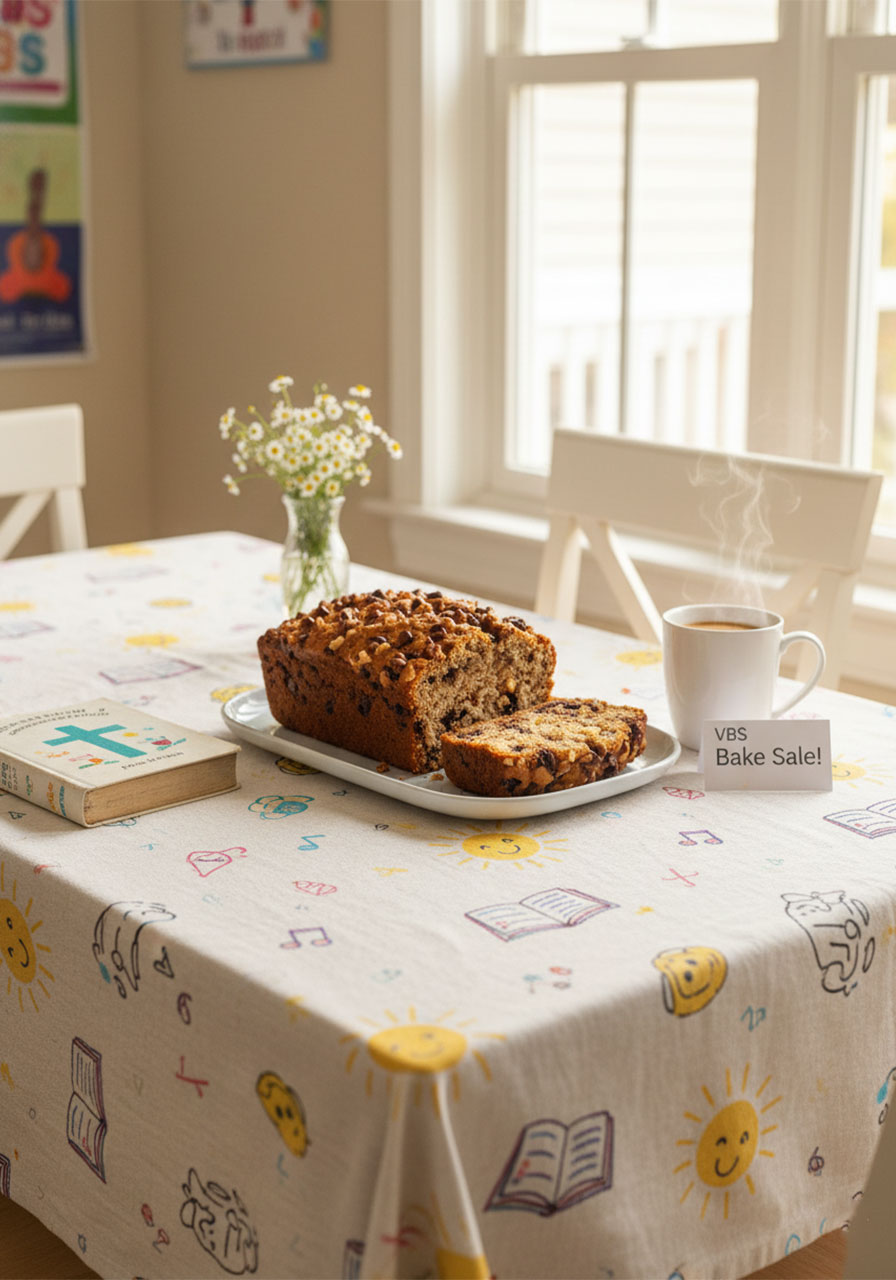
May
Prep Time: 5 minutes | Cook Time: 45–50 minutes | Total Time: 50 minutes | Servings: 12 slices
This post is for informational and enjoyment purposes only and is not medical or nutritional advice.
Those Browning Bananas on Your Counter? They’re a Gift.
You know the ones. Sitting there, too ripe to eat plain, too good to toss.
Friend, that bunch of browning bananas is about to become the most requested thing in your kitchen.
This chocolate chip banana bread is moist, fluffy, loaded with gooey chocolate in every single bite – and it comes together in one bowl with no eggs required.
I’ve been baking this recipe for over 15 years. My mom first handed it down to me, and I’ve spent years tweaking it – testing different flours, different fats, different ways to get that perfect rise without eggs. The result is a loaf that bakes up beautifully every single time.
There’s something quietly sacred about baking for the people you love. It’s a small, faithful act of care – stewarding the simple ingredients on your shelf into something that nourishes and brings people to the table.
Whether you’re baking for your family on a Saturday morning, bringing something warm to a friend going through a hard season, or just treating yourself – this loaf is the one.
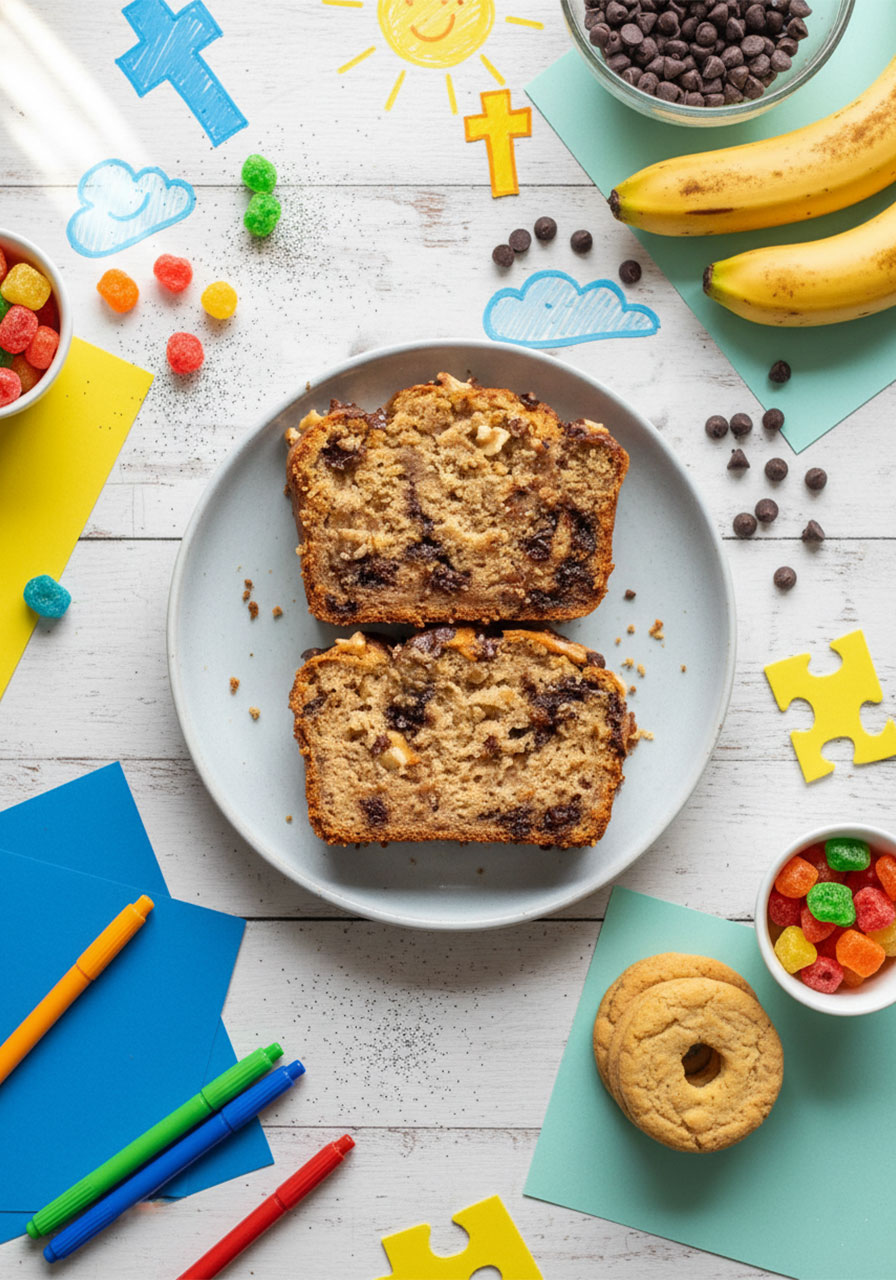
In This Post You’ll Learn:
- Why this banana bread is extra moist and fluffy (no eggs needed!)
- Exactly which ingredients to use and why each one matters
- Step-by-step baking instructions with tips for success
- How to ripen bananas fast if you don’t have ripe ones
- Storage tips, substitutions, and FAQ answers
- A full printable-style recipe card at the bottom
Why You’ll Love This Recipe
Before we get into the ingredients, here’s what makes this loaf stand out.
One bowl. You mix everything in a single bowl, which means less cleanup and more time doing what matters.
No eggs. A splash of apple cider vinegar does the heavy lifting here – it reacts with the baking soda to create lift and fluffiness without a single egg. This trick is something I picked up in culinary training, and it truly works.
Perfect texture every time. Not too dense, not too crumbly. Just light, moist, tender banana bread with gooey pockets of chocolate in every bite.
Minimal prep. Once your bananas are mashed, you’re less than 5 minutes from getting this in the oven. The oven does all the work.
Wholesome and adaptable. This recipe works with gluten-free flour, dairy-free milk, and a few easy swaps. We’ll cover all of them.
Key Ingredients (And Why Each One Matters)
Let’s talk about what goes into this loaf and why every ingredient was chosen intentionally.
Ripe Bananas
The riper, the better. Brown-spotted bananas are sweeter, softer, and give the bread a deeper banana flavor. Aim for about 1½ cups mashed – roughly 4 medium bananas.
All-Purpose Flour
Regular all-purpose flour gives the lightest, fluffiest texture. That said, white whole wheat flour also works well and adds a slightly heartier bite. If you need gluten-free, use a 1:1 gluten-free all-purpose flour blend with xanthan gum (like Bob’s Red Mill). I’ve tested all three – they all work.
Sugar
White sugar gives the cleanest, lightest result. You can use half white and half brown sugar for a hint of caramel depth. Avoid using all brown sugar – I tested it, and it makes the loaf heavier and denser than we want.
Baking Soda
This is what helps the bread rise. It works hand-in-hand with the apple cider vinegar (more on that below).
Salt
Just a pinch, but don’t skip it. Salt balances the sweetness and brings all the flavors together.
Unsalted Butter
Butter wins. I tested this recipe with both butter and coconut oil, and butter consistently produced a more flavorful, moister loaf. Make sure it’s softened before mixing.
Milk
Any milk works – dairy or non-dairy. I often reach for unsweetened almond milk, and it’s wonderful. Oat milk, regular whole milk, or any milk you have on hand will do the job.
Vanilla Extract
A must. Pure vanilla extract deepens the flavor of both the banana and chocolate. Don’t skip it.
Apple Cider Vinegar
This is the secret ingredient that makes this egg-free loaf rise and stay fluffy. When it hits the baking soda, it creates a gentle reaction that lifts the batter beautifully.
Chocolate Chips
Use semi-sweet chocolate chips, chocolate chunks, or a mix of both. Mixing the two sizes creates little bursts and big gooey pockets throughout the bread. Reserve a small handful to press into the top before baking – it looks gorgeous.
Walnuts (Optional)
Optional but highly recommended if you love a little crunch. The nutty flavor pairs perfectly with the banana and chocolate.
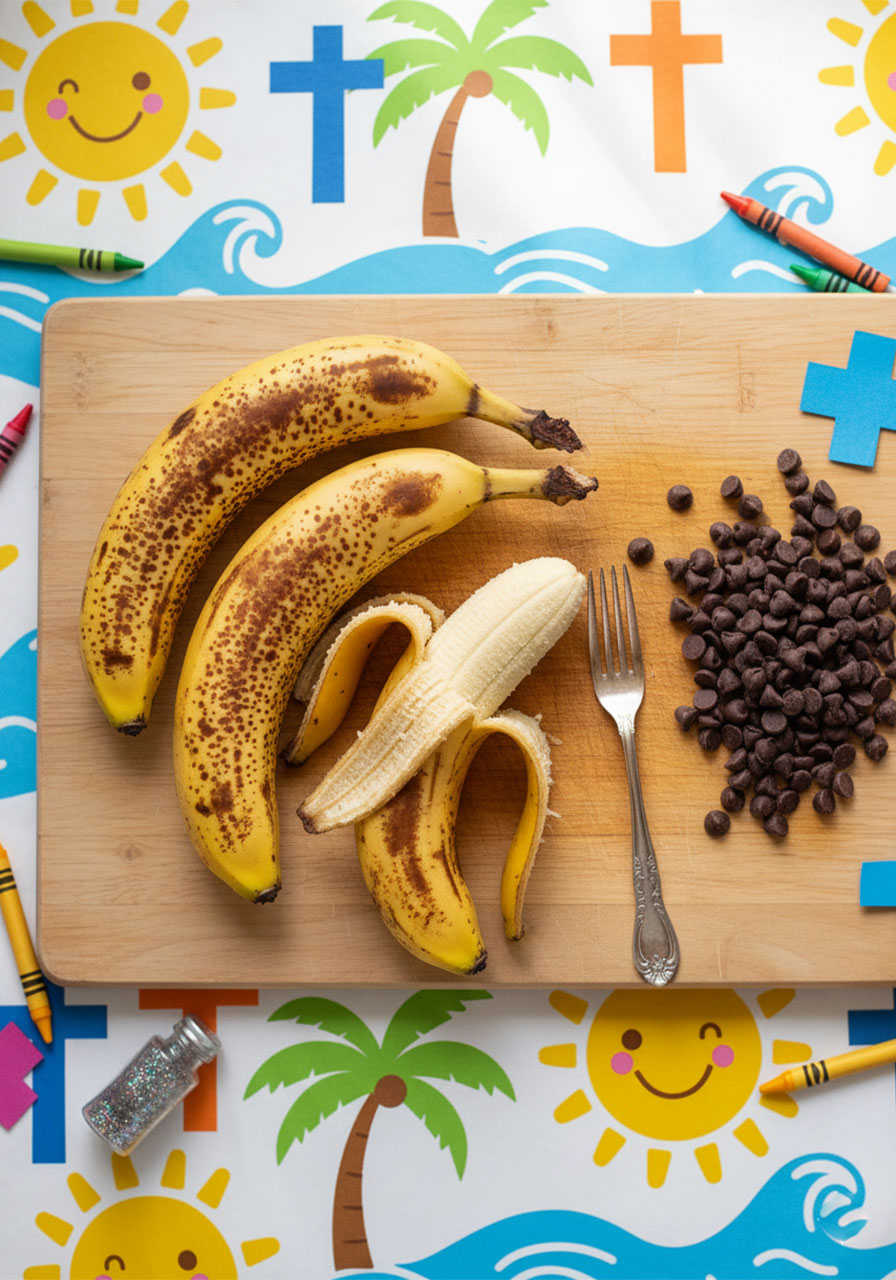
No Ripe Bananas? Here’s How to Ripen Them Fast
Forgot to plan ahead? No problem. Here are three ways to ripen bananas quickly.
Oven method: Place unpeeled bananas on a baking sheet and bake at 300°F for 10–15 minutes. The peels will turn black and the bananas inside will soften and sweeten. Let them cool completely before using.
Overnight method: Place firm bananas in a brown paper bag and fold the top closed. By morning, they’ll be noticeably riper.
Microwave method: Microwave unpeeled bananas in 30-second intervals until soft. Let them cool fully before mashing.
How to Make Chocolate Chip Banana Bread – Step by Step
Step 1 – Prep Your Pan and Oven
Preheat your oven to 350°F (180°C). Line a standard loaf pan with parchment paper, leaving a couple inches of overhang on each side so you can lift the loaf out easily after baking.
Step 2 – Mix the Dry Ingredients
In a large mixing bowl, add the flour, sugar, salt, and baking soda. Stir to combine.
This is your only bowl. Keep it close.
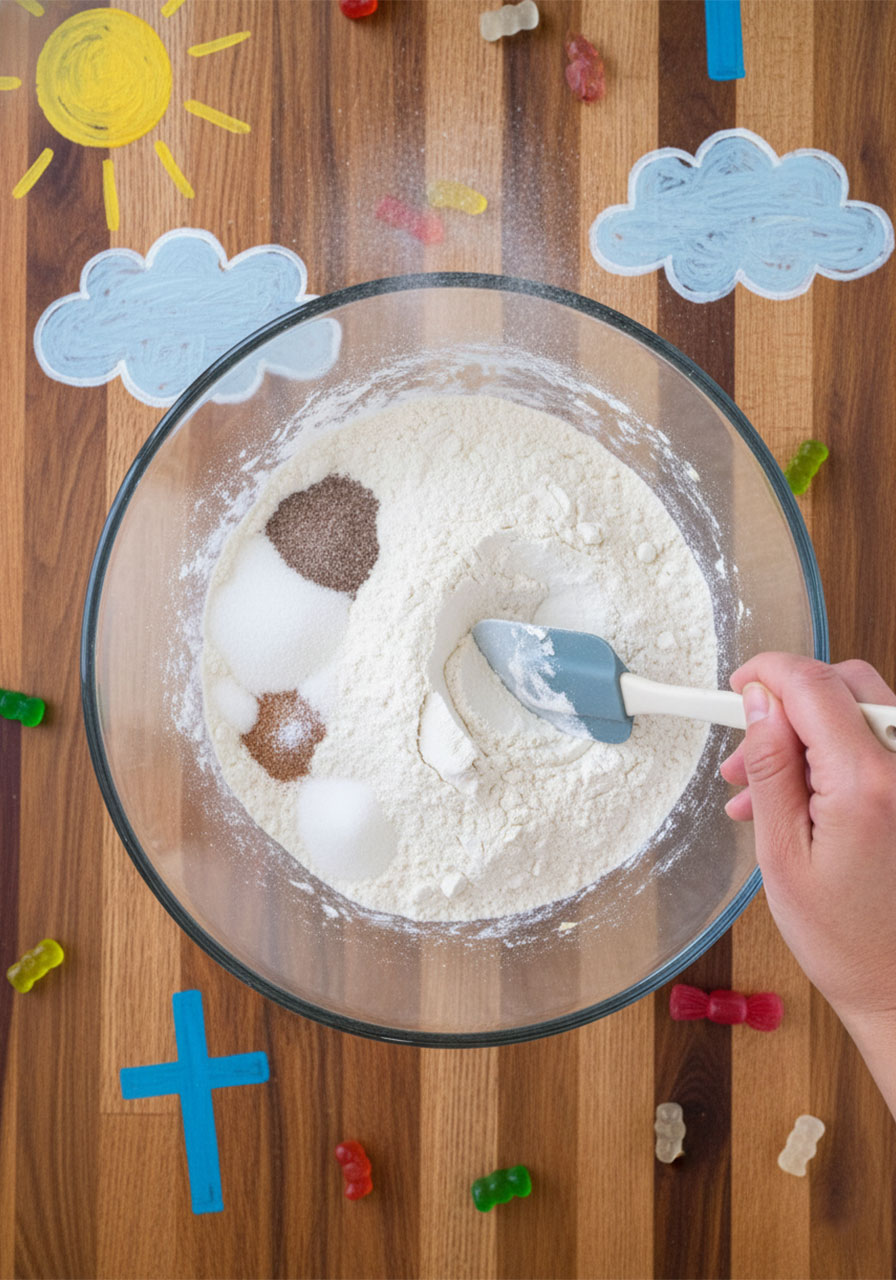
Step 3 – Add the Wet Ingredients
Add the mashed bananas, softened butter, milk, vanilla extract, and apple cider vinegar directly to the dry ingredients.
Mix until just combined. A few small streaks of flour are completely fine – in fact, they’re a good sign you haven’t overmixed. Overmixing is the number one reason banana bread turns out dense, so be gentle here.
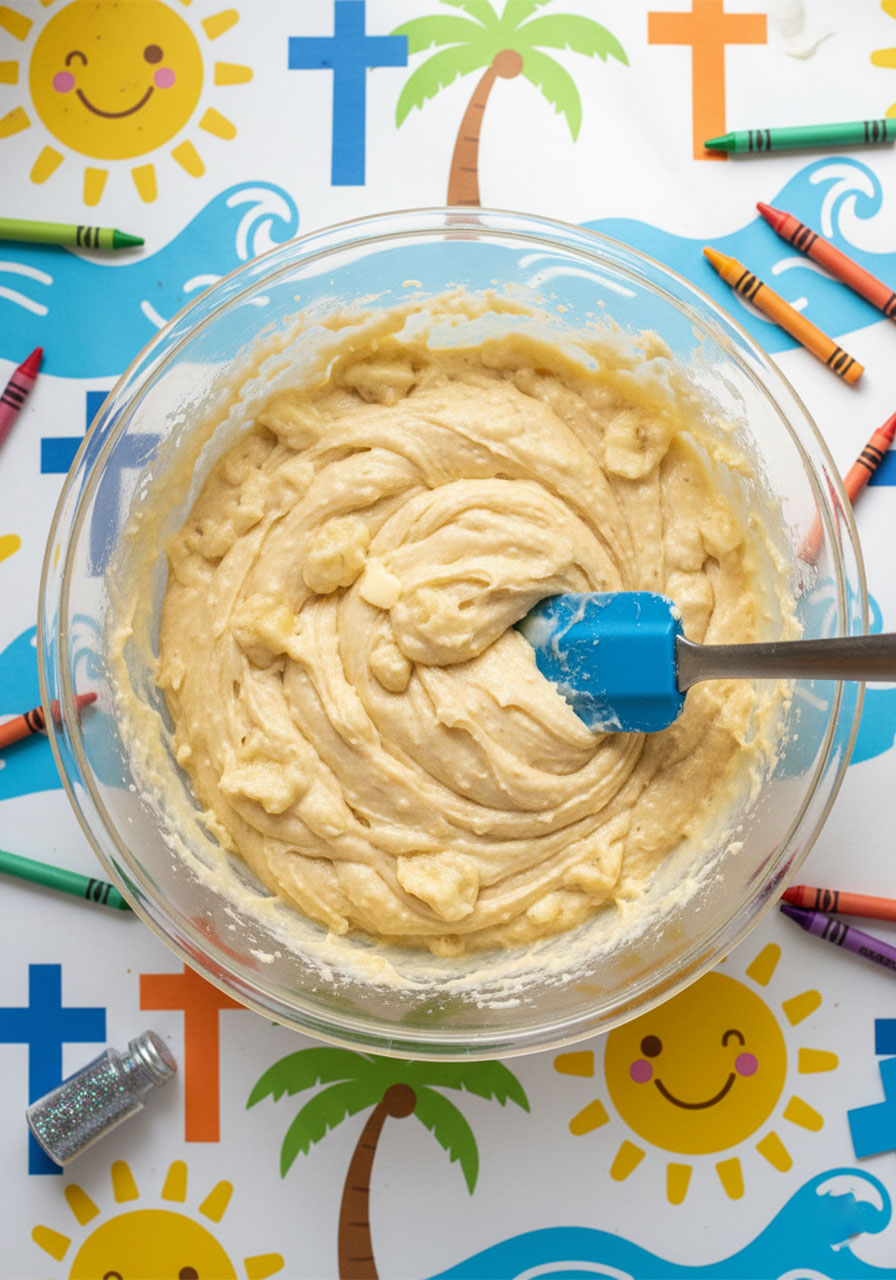
Step 4 – Fold in the Chocolate Chips
Using a rubber spatula, gently fold in the chocolate chips (and walnuts if using).
Pro tip: Toss the chocolate chips lightly in a teaspoon of flour before folding them in. This helps keep them suspended throughout the loaf instead of sinking to the bottom.
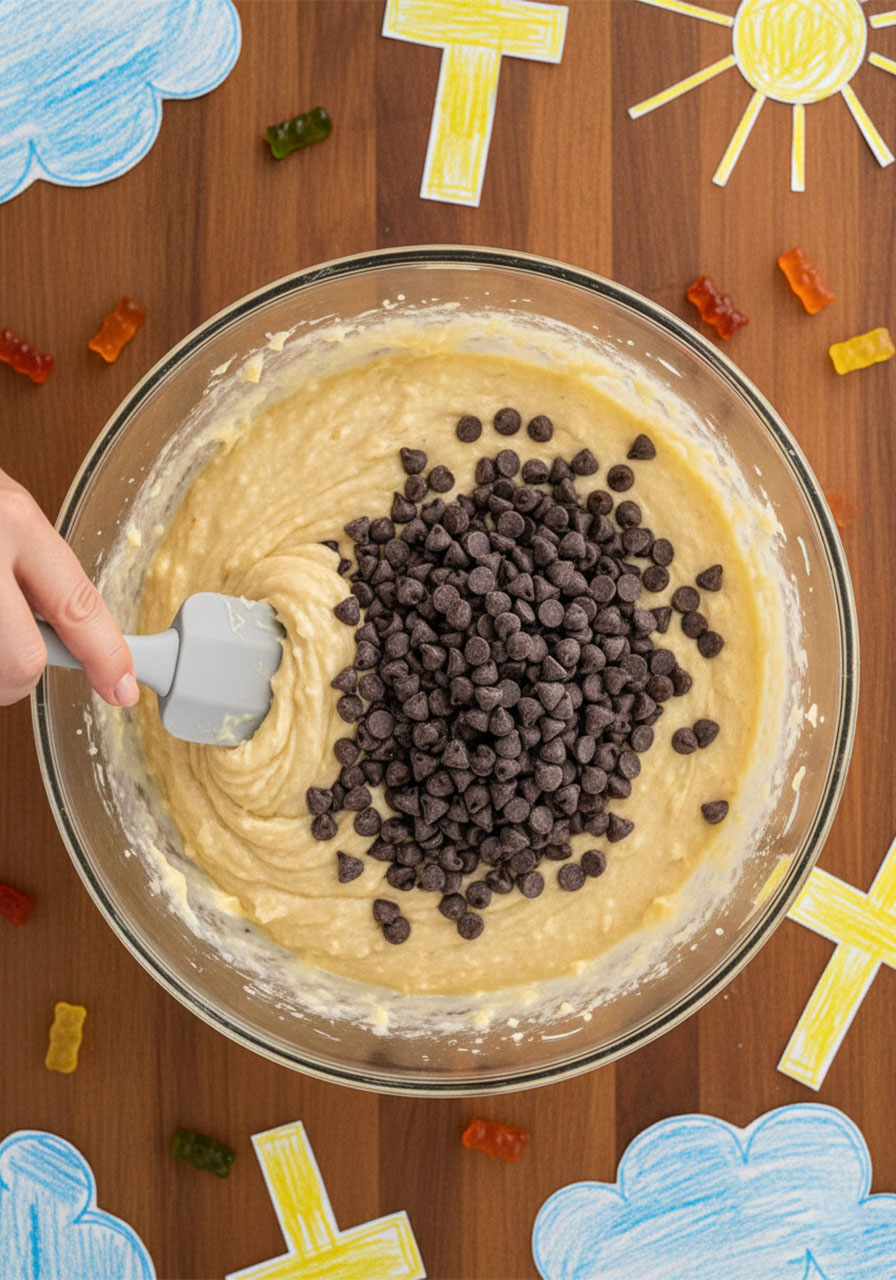
Step 5 – Fill the Pan and Top with Chips
Pour the batter into your prepared loaf pan. Smooth the top gently with your spatula, then press a few extra chocolate chips (and walnuts) into the surface.
That chocolate-studded top is what makes this loaf look irresistible fresh out of the oven.

Step 6 – Bake
Bake at 350°F for 45–50 minutes, or until a toothpick inserted into the center comes out with just a few moist crumbs (not wet batter).
If the top is browning too quickly before the center is done, loosely tent the loaf with foil around the 30-minute mark and continue baking.
One important note: quick breads continue to cook from residual heat even after you remove them from the oven. Pull the loaf when a toothpick shows just a couple of moist crumbs – it will finish setting as it cools.

Step 7 – Cool Before Slicing
Let the loaf cool in the pan completely before slicing. I know it’s hard to wait. But slicing too early will give you a gummy, collapsed interior. Give it at least 30–45 minutes.
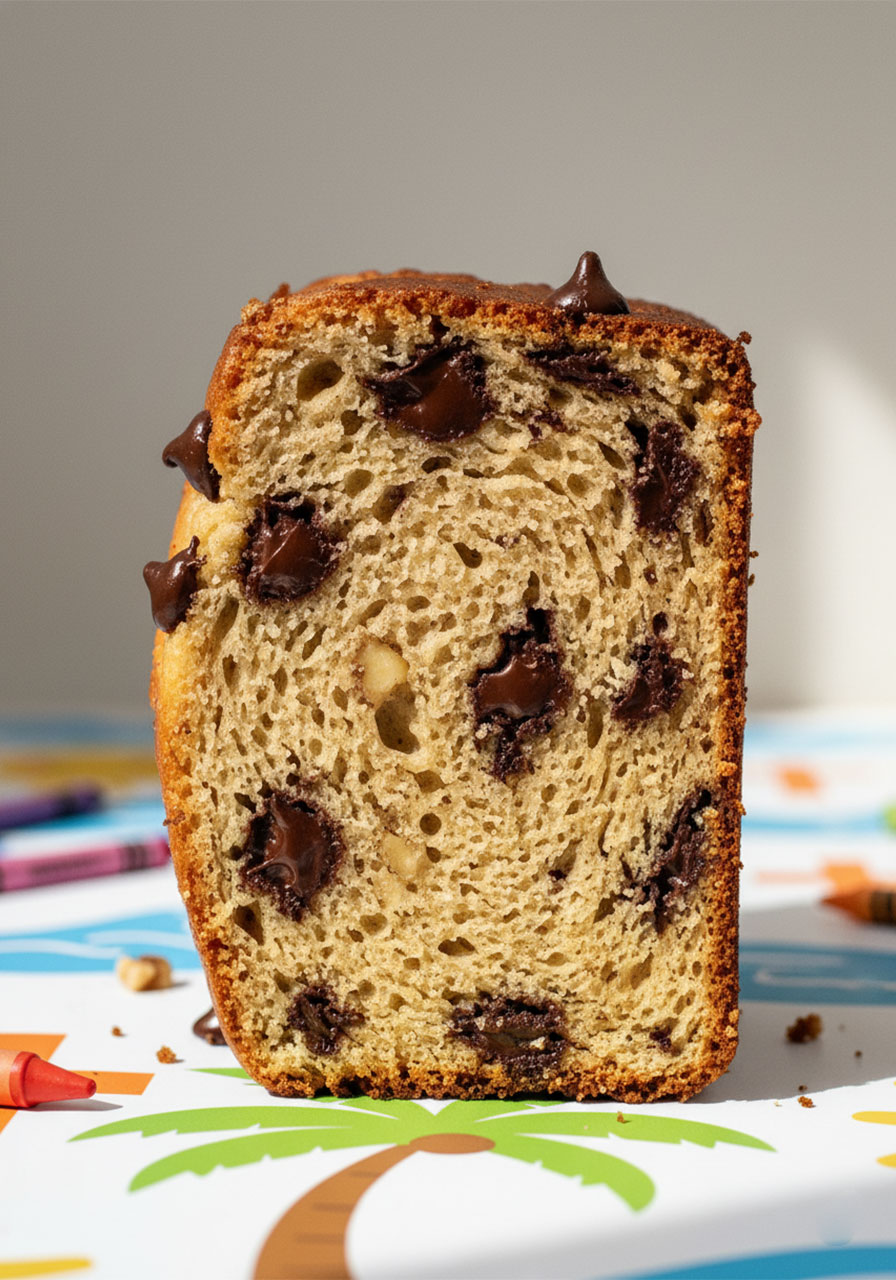
Tips for Baking Success
These small details make a real difference.
Don’t overmix the batter. Mix until just combined – a few streaks of flour are actually what you want. Overmixing develops gluten and leads to a dense, tough loaf.
Mash with a fork, not a blender. Fork-mashed bananas leave small bits of fruit in the batter, which adds moisture and texture throughout the loaf. Blended bananas make it too smooth.
Toss chips in flour before folding in. This helps keep them evenly distributed instead of settling at the bottom.
Use very ripe bananas. The darker and spottier, the better. Riper bananas = sweeter flavor, more moisture, and better banana taste throughout.
Tent with foil if needed. If the top is browning before the inside is cooked, lay a piece of foil loosely over the top and keep baking. This protects the crust without steaming the bread.
Pull it at the right moment. A toothpick with a few moist crumbs is perfect. A clean toothpick often means overbaked. Trust the residual heat to finish the job.
A Faith Note
There’s a reason the simple act of baking feels so grounding.
When life gets noisy and your to-do list feels endless, stepping into the kitchen and creating something with your hands is one of the quietest ways to slow down and come back to yourself.
Scripture reminds us in 1 Corinthians 6:19–20 that our bodies are temples – worth nourishing, worth caring for. Baking with wholesome ingredients, gathering around a table, offering something homemade to someone who needs it – these are small, faithful acts of stewardship.
You don’t have to have a perfect kitchen or a perfectly organized life to make something good. You just need a bowl, a few ripe bananas, and a little bit of time.
“Come to me, all you who are weary and burdened, and I will give you rest.” – Matthew 11:28
May this loaf be a small comfort on a busy day, friend. You’re doing a great job.
Substitutions and Variations
This recipe is flexible. Here are some easy swaps depending on what you have or need.
Dairy-free: Use any non-dairy milk (almond, oat, soy) and swap the butter for melted coconut oil. The coconut oil version still bakes well – butter just produces a slightly more flavorful result.
Gluten-free: Use a 1:1 gluten-free all-purpose flour blend with xanthan gum. I like Bob’s Red Mill. The texture will be slightly different but still delicious.
Not enough bananas? If you’re short, swap the missing amount with unsweetened applesauce or pumpkin puree – about ¼ cup per missing banana. Applesauce keeps it sweet and light. Pumpkin gives it a heartier, moister texture.
Chocolate options: Semi-sweet chips, dark chocolate chunks, milk chocolate chips – use whatever you love. A mix of chip sizes is especially good for varied texture.
Add-ins: Walnuts, pecans, shredded coconut, or a sprinkle of cinnamon in the batter all make wonderful additions.
Want muffins instead? Divide the batter evenly into a greased 12-count muffin tin and bake at 350°F for 18–22 minutes, or until a toothpick comes out with just a few moist crumbs.
Quick Routine Checklist: Before You Bake
Use this as your quick prep reference before you start.
☐ Bananas are very ripe (brown-spotted)
☐ Butter is softened to room temperature
☐ Loaf pan is lined with parchment paper
☐ Oven is preheated to 350°F
☐ Extra chocolate chips set aside for topping
☐ Toothpick nearby for the doneness test
How to Store Chocolate Chip Banana Bread
This loaf keeps beautifully and actually gets more moist on day two.
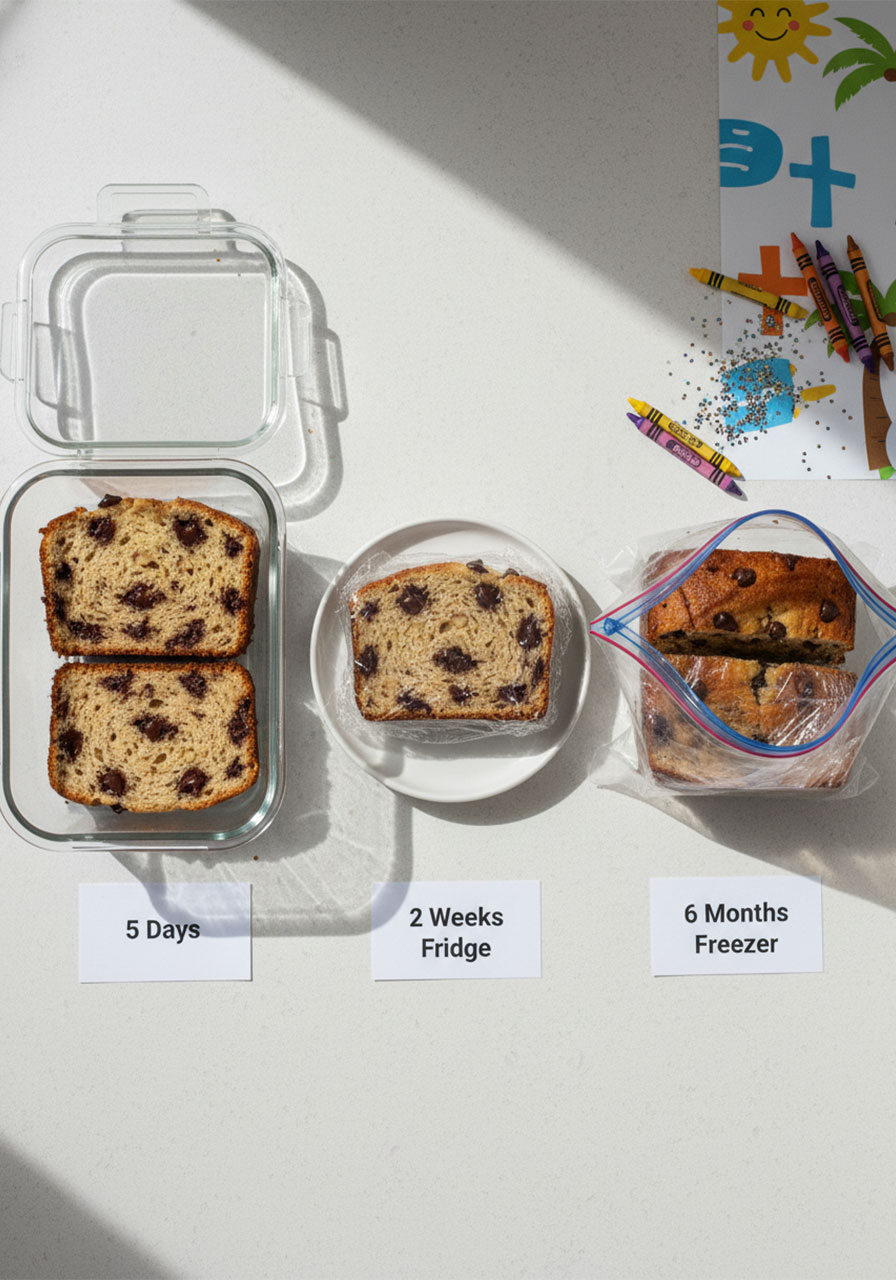
Room temperature: Store in an airtight container for up to 5 days. Keep it out of direct sunlight.
Refrigerator: Wrap tightly and refrigerate for up to 2 weeks. Bring a slice to room temperature or warm it for 15–20 seconds in the microwave before eating.
Freezer: Wrap the cooled loaf (or individual slices) in plastic wrap, then place in a zip-lock freezer bag. Freeze for up to 6 months. Thaw overnight in the refrigerator or on the counter for a couple of hours.
Slicing before freezing is especially helpful – you can pull out one slice at a time whenever you want a treat without defrosting the whole loaf.
Frequently Asked Questions
Can you bake banana bread in a glass pan?
Yes! If you’re using a glass loaf pan, reduce the oven temperature by 25°F (bake at 325°F instead of 350°F) and add a few extra minutes to the bake time. Glass heats more slowly than metal but holds heat longer, which can cause the edges to overbrown if you don’t adjust. Keep a close eye on it and use the toothpick test to check doneness.
Can I make banana bread muffins with this recipe?
Absolutely. Divide the batter evenly into a greased 12-count muffin tin and bake at 350°F for 18–22 minutes. Check at 18 minutes – a toothpick inserted into the center should come out with just a few moist crumbs. Every oven is slightly different, so your muffins may need a couple extra minutes.
What if I don’t have enough bananas?
This recipe calls for 1½ cups mashed bananas (about 4 medium bananas). If you’re short, swap the missing portion with unsweetened applesauce or pumpkin puree – roughly ¼ cup per missing banana. Applesauce keeps the loaf lighter and sweeter. Pumpkin puree gives it a denser, heartier texture with a beautiful color. Both work well.
Why is my banana bread dense?
The most common reason is overmixing the batter. Once you add the wet ingredients to the dry, mix only until just combined – a few streaks of flour are completely fine. Too much mixing develops gluten and leads to a tough, heavy loaf.
Can I reduce the sugar?
You can reduce the sugar slightly if your bananas are very ripe and sweet. However, sugar also contributes to moisture and texture in baked goods, so reducing it too much can affect the final result. I’d recommend not going below ¾ cup.
Does this recipe really need apple cider vinegar?
Yes – and please don’t skip it. The vinegar reacts with the baking soda to create lift and a fluffy texture, which is especially important since this recipe has no eggs. You won’t taste the vinegar in the finished loaf at all.
Can I use salted butter instead of unsalted?
Yes, just reduce or omit the added salt in the recipe. The difference in the final loaf is minimal.
How do I know when it’s done baking?
Insert a toothpick into the very center of the loaf. If it comes out with just a few moist crumbs – not wet batter – your bread is ready. Pull it out at that point. Quick breads continue cooking from residual heat after you remove them from the oven, so a slightly underdone toothpick is actually ideal.
Closing Encouragement
Some of the sweetest moments in life happen around a kitchen table.
A warm slice of banana bread shared with a friend, a loaf left on a neighbor’s doorstep, a quiet Saturday morning with your family and something good baking in the oven – these small, ordinary moments are the ones that stay with us.
You don’t need a complicated recipe or an elaborate plan. You need a bowl, a handful of ripe bananas, and the willingness to show up.
This loaf is simple, reliable, and deeply satisfying. I hope it brings a little warmth to your home today.
Explore more wholesome recipes and faith-filled living ideas on the Christian Faith Goods blog.
A Simple Closing Prayer
Lord, thank You for simple gifts – ripe bananas, a warm oven, and people worth baking for.
Help me to steward what I have with gratitude and care.
May this home be a place of warmth, nourishment, and Your peace.
Amen.
Chocolate Chip Banana Bread (No Eggs, Super Moist!)
Ingredients
- 2 cups all-purpose flour (or white whole wheat, or gluten-free AP flour with xanthan gum)
- 1 cup white sugar (or ½ cup white + ½ cup brown sugar)
- ¾ teaspoon baking soda
- ¼ teaspoon salt
- 1½ cups mashed ripe banana (about 4 medium bananas)
- ½ cup unsalted butter, softened (or melted coconut oil for dairy-free)
- ¼ cup milk (any dairy or non-dairy milk)
- 1 teaspoon vanilla extract
- 1 teaspoon apple cider vinegar
- ½ cup chocolate chips, plus extra for topping
- ¼ cup walnuts, roughly chopped (optional)
Instructions
- Preheat the oven to 350°F (180°C). Line a standard loaf pan with parchment paper, leaving a few inches of overhang on each side for easy removal.
- Mix the dry ingredients. In a large mixing bowl, combine the flour, sugar, baking soda, and salt. Stir well to distribute evenly.
- Add the wet ingredients. Add the mashed bananas, softened butter, milk, vanilla extract, and apple cider vinegar to the same bowl. Mix until just combined – do not overmix. A few small streaks of flour are fine.
- Fold in the chocolate chips. Using a rubber spatula, gently fold in the chocolate chips and walnuts (if using). Tip: toss chips in a teaspoon of flour first to prevent sinking.
- Fill the pan. Pour the batter into the prepared loaf pan and smooth the top. Press a handful of extra chocolate chips (and walnuts) onto the surface.
- Bake for 45–50 minutes, or until a toothpick inserted into the center comes out with just a few moist crumbs. If the top browns too quickly, loosely tent with foil around the 30-minute mark.
- Cool completely in the pan before slicing – at least 30–45 minutes. The loaf continues to set from residual heat as it cools.
Notes
Notes & Tips
- Sugar: White sugar gives the lightest texture. A combination of white and brown sugar adds caramel depth. Avoid using all brown sugar – the loaf will be too dense.
- Flour: All three flour types work (all-purpose, white whole wheat, gluten-free AP). For gluten-free, ensure the blend includes xanthan gum.
- Dairy-free: Use any non-dairy milk and swap butter for melted coconut oil.
- Not enough bananas? Substitute ¼ cup unsweetened applesauce or pumpkin puree per missing banana.
- Muffins: Divide batter into a greased 12-count muffin tin. Bake at 350°F for 18–22 minutes.
- Glass pan: Reduce oven temperature to 325°F and bake a few minutes longer.
- Don’t overmix. Mix until just combined for the lightest, fluffiest texture.
Storage
- Room temperature: Airtight container for up to 5 days.
- Refrigerator: Tightly wrapped for up to 2 weeks.
- Freezer: Wrapped slices or whole loaf for up to 6 months. Thaw overnight in the refrigerator or at room temperature for a few hours.
Nutrition (Per Slice, Approximate)
Calories: 226 | Carbohydrates: 29g | Protein: 3g | Fat: 9g | Sugar: 12g | Fiber: 5g | Sodium: 195mg Nutrition information is an estimate only and will vary based on specific ingredients used. This post is for educational and informational purposes and is not medical or nutritional advice.