Vegan Recipes
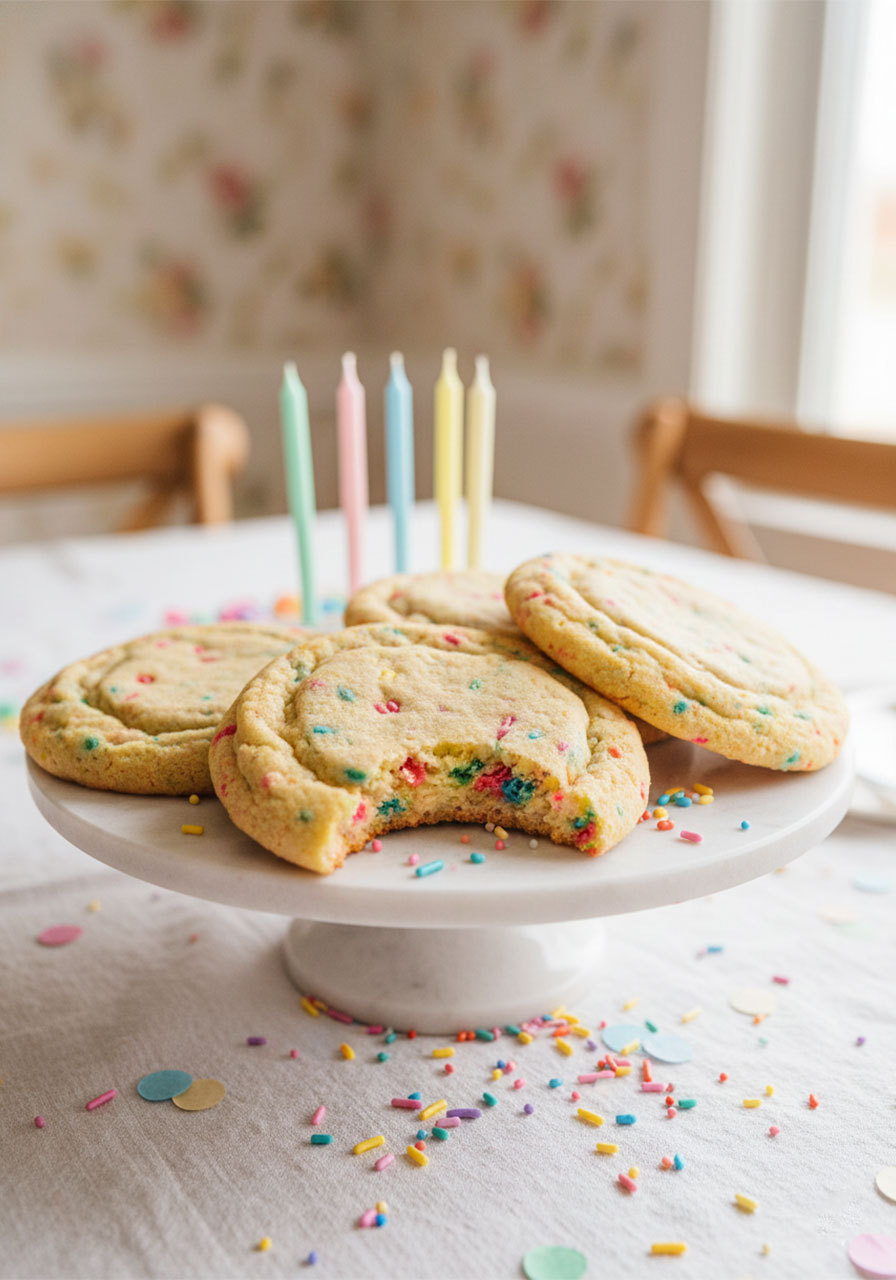
Vegan Funfetti Sugar Cookies (Birthday Cake Cookies!)
May
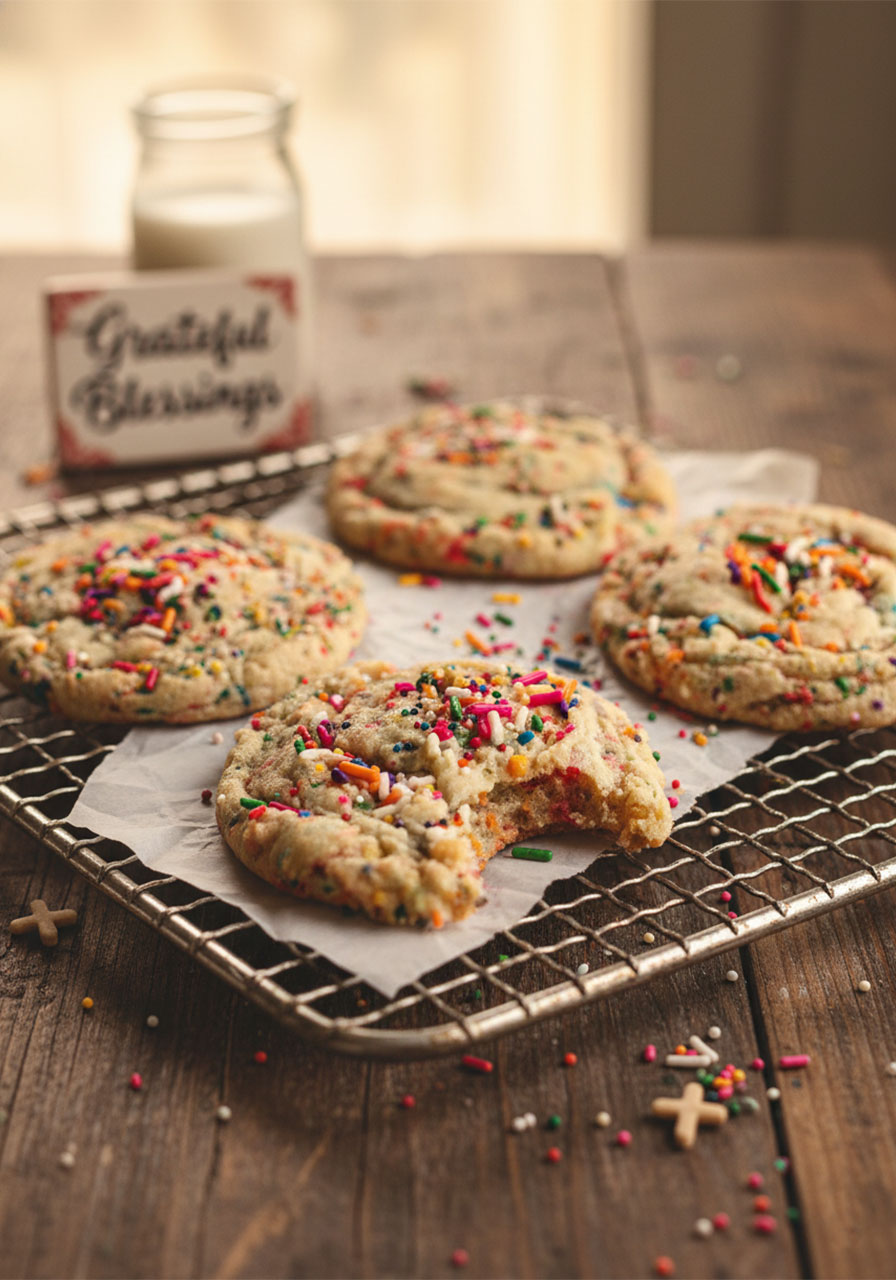
There’s something about a cookie covered in rainbow sprinkles that just makes your whole day feel a little brighter.
Whether you’re baking for a birthday, a potluck, a school celebration – or honestly, just a quiet Tuesday when you need a little joy – these vegan funfetti sugar cookies are exactly what you need.
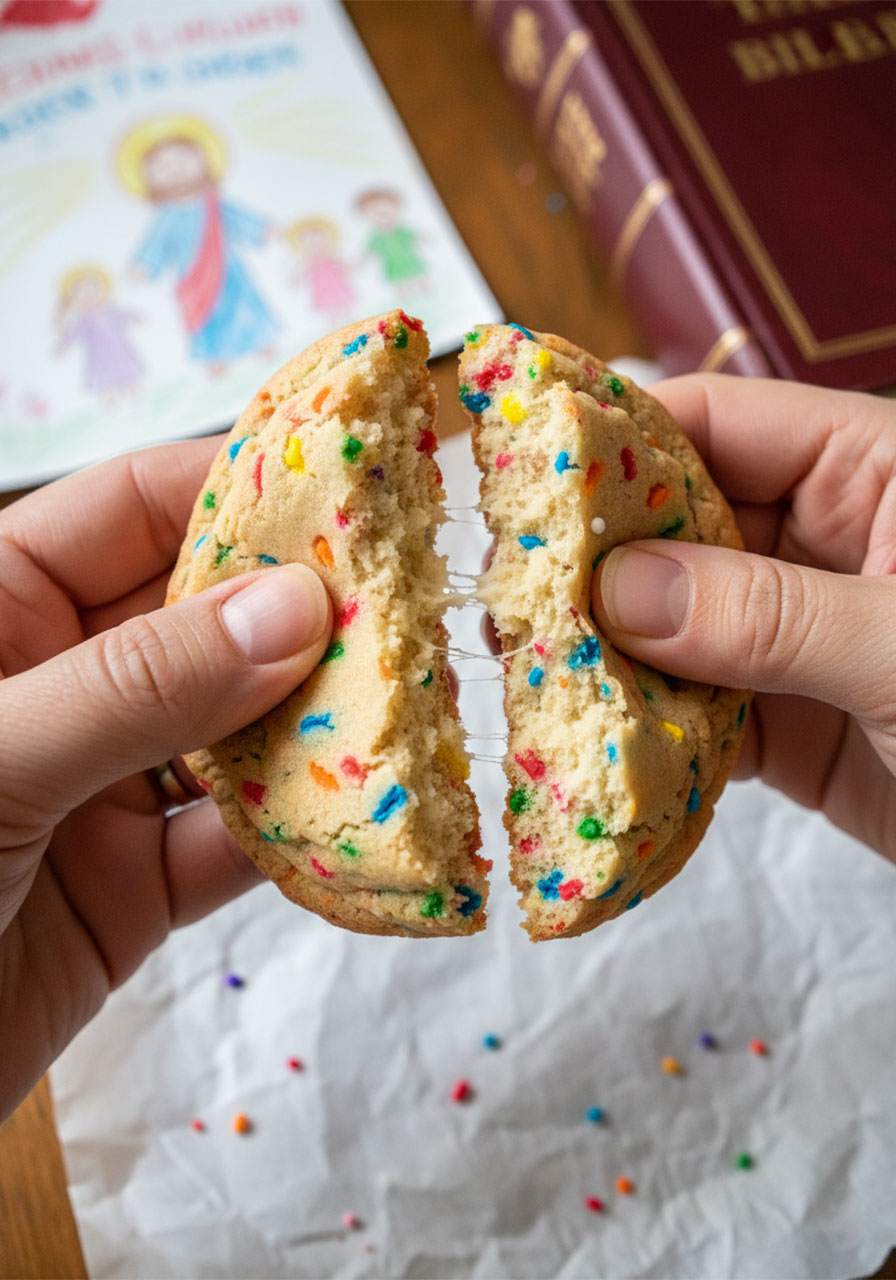
They’re soft in the middle, perfectly crispy on the edges, loaded with colorful sprinkles, and made completely without eggs or dairy. They also happen to be gluten free.
And the best part? You only need one bowl and about 40 minutes from start to finish.
There’s a verse that says, “A joyful heart is good medicine” (Proverbs 17:22). I think baking something colorful and cheerful and sharing it with people you love is one of the simplest, most beautiful ways to live that out.
Let’s get into it.
What You’ll Learn in This Post
- Why these cookies work so well without eggs or dairy
- Exactly how to make them step by step
- Tips for getting that perfect soft and chewy texture
- How to turn them into cut-out cookies
- Storage tips and easy substitutions
- A full printable-style recipe card at the bottom
Why You’ll Love These Vegan Funfetti Sugar Cookies
These cookies check every box.
They’re soft and chewy in the center with just the right amount of crispy edge. They’re packed with colorful sprinkles in every single bite. And they come together in one bowl – which means less mess, less stress, and more time enjoying what you made.
They’re also naturally egg-free, dairy-free, and gluten free – which means they’re a wonderful treat to bring to gatherings where you’re not sure about everyone’s dietary needs. No one gets left out of the cookie fun.
If you’ve been looking for a go-to vegan cookie recipe you can come back to again and again, this is it.
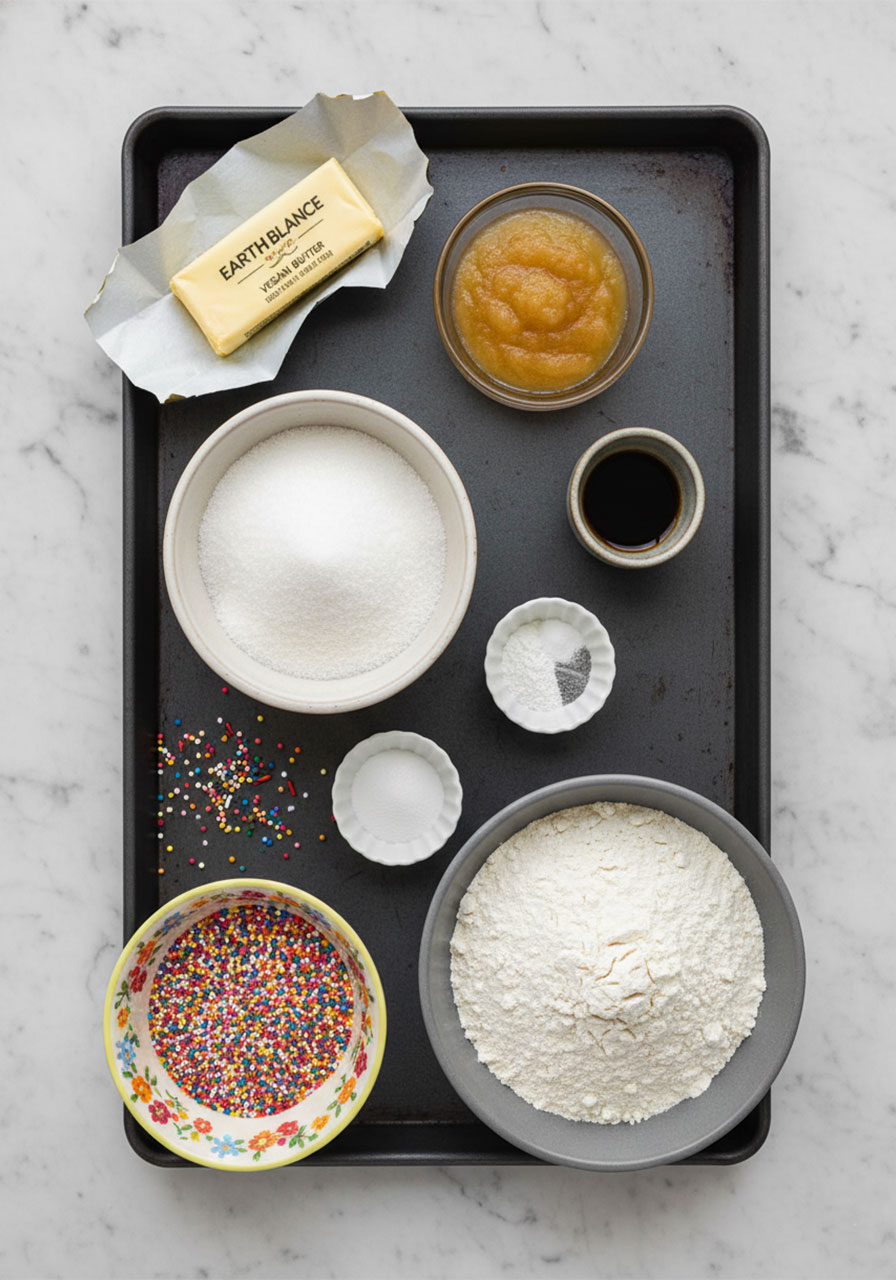
Ingredients You’ll Need
Here’s what makes these cookies work so beautifully:
Vegan Butter
This is the backbone of the recipe. Use vegan butter sticks – Earth Balance is a great option. Room temperature butter creams better and gives you that perfect soft texture. Don’t swap this for oil; the butter gives flavor and structure that oil simply can’t replicate.
Apple Sauce
This is your egg replacer. It adds just enough moisture to bind the dough together without making it dense or gummy. Unsweetened apple sauce works perfectly here. You’d never guess it’s in there – it’s completely tasteless once baked.
Granulated Cane Sugar
Regular white granulated sugar gives these cookies their sweetness and also helps create those slightly crispy edges. Don’t swap for coconut sugar or brown sugar here – the texture really depends on white sugar for this recipe.
Vanilla Extract
Don’t skip it. Vanilla is what gives these cookies that warm, nostalgic, bakery-style flavor. Use a good quality pure vanilla extract if you can.
Gluten Free All-Purpose Baking Flour
Bob’s Red Mill 1-to-1 Gluten Free Baking Flour works wonderfully here. If you don’t need them to be gluten free, regular all-purpose flour works just as well – same measurements, no adjustments needed.
Corn Starch
Just one teaspoon, but it makes a real difference. Corn starch softens the texture of the cookies and helps absorb a little extra moisture so your dough isn’t sticky or overly wet.
Baking Powder + Baking Soda
Both are used in this recipe to give the cookies just the right amount of lift – fluffy centers without too much spread.
Rainbow Sprinkles
The fun part! You can use all jimmies (the rod-shaped ones), all non-pareils (the tiny round ones), or a mix of both. About 4–5 tablespoons is ideal. Fold them in gently so they don’t bleed too much color into the dough.
How to Make Vegan Funfetti Sugar Cookies – Step by Step
Step 1: Preheat Your Oven
Set your oven to 350°F (175°C). Line a baking sheet with parchment paper and set it aside.
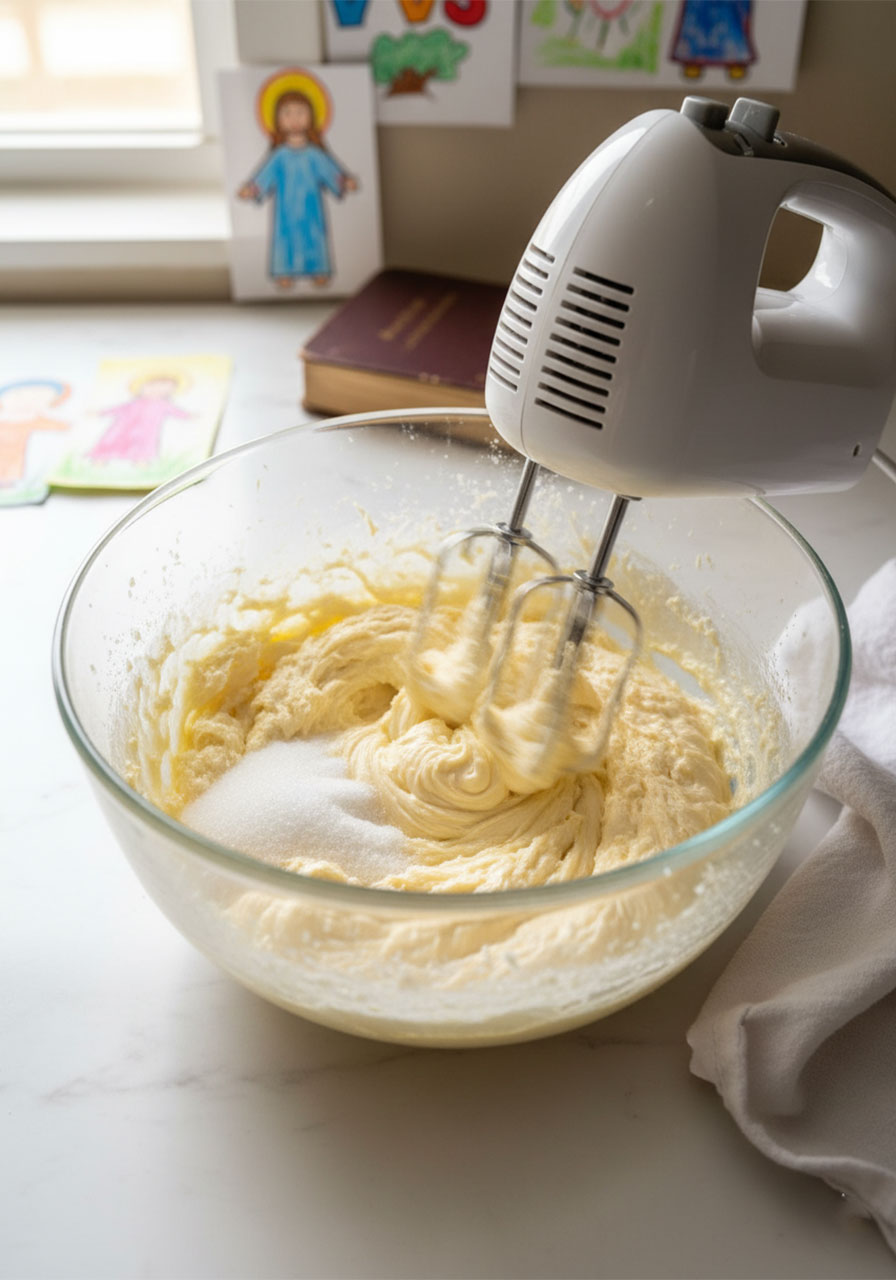
Step 2: Cream the Butter and Sugar
Add your room temperature vegan butter and granulated sugar to a large mixing bowl (or stand mixer bowl). Beat together for about 30 seconds until combined.
If your butter is still cold from the fridge, microwave it for about 20 seconds – just until soft, not melted. Cold butter won’t cream properly and your cookies will spread too thin.
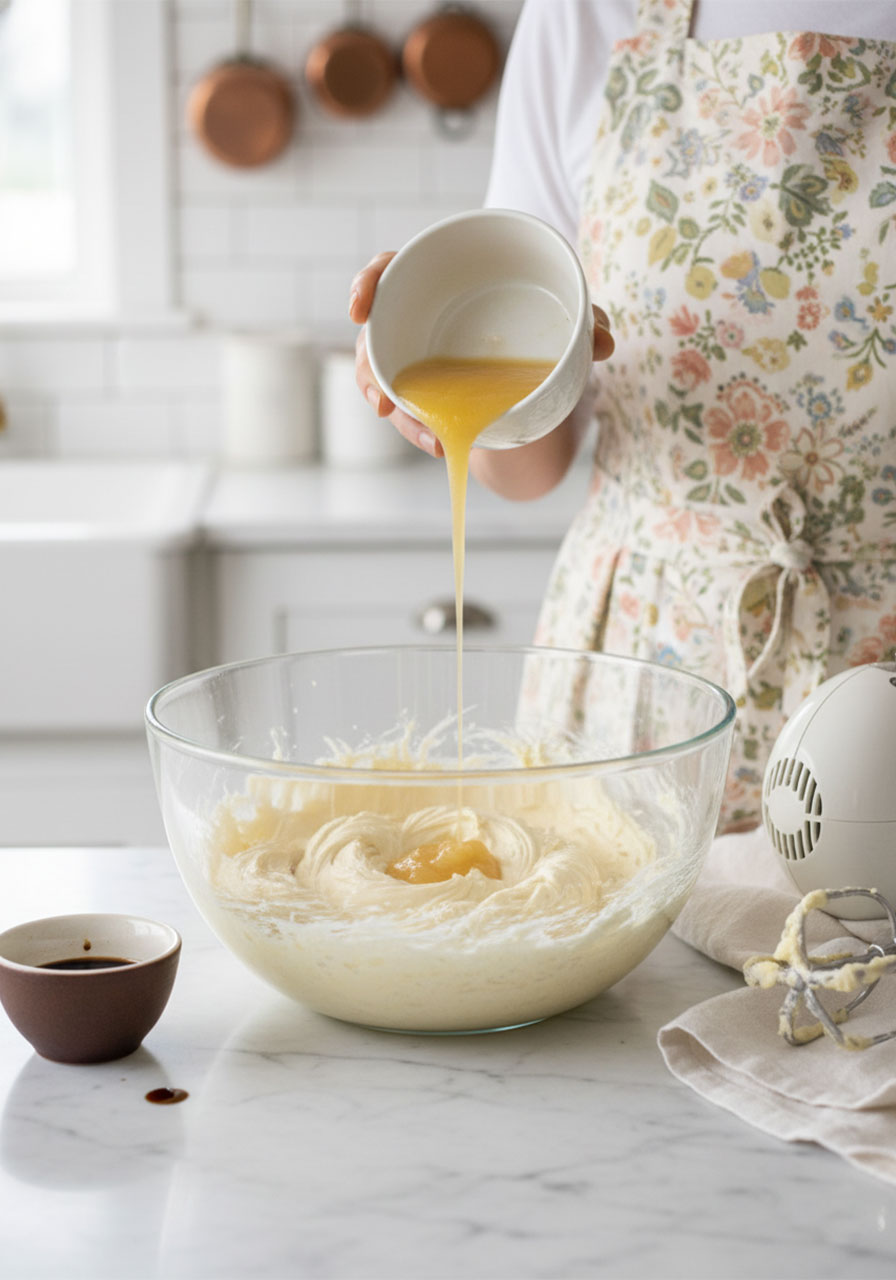
Step 3: Add the Wet Ingredients
Beat in the vanilla extract and apple sauce until everything is combined and smooth. The mixture might look a little curdled – that’s totally normal. It’ll come together once you add the dry ingredients.
Step 4: Mix in the Dry Ingredients
Add the gluten free flour, corn starch, baking powder, baking soda, and salt all at once. Beat on low speed just until a soft dough forms. Be careful not to overmix – that can make the cookies tough.
Tip: When measuring flour, spoon it into your measuring cup and level it off with a knife. Don’t scoop directly from the bag or you’ll pack in too much flour and end up with dry, crumbly cookies.
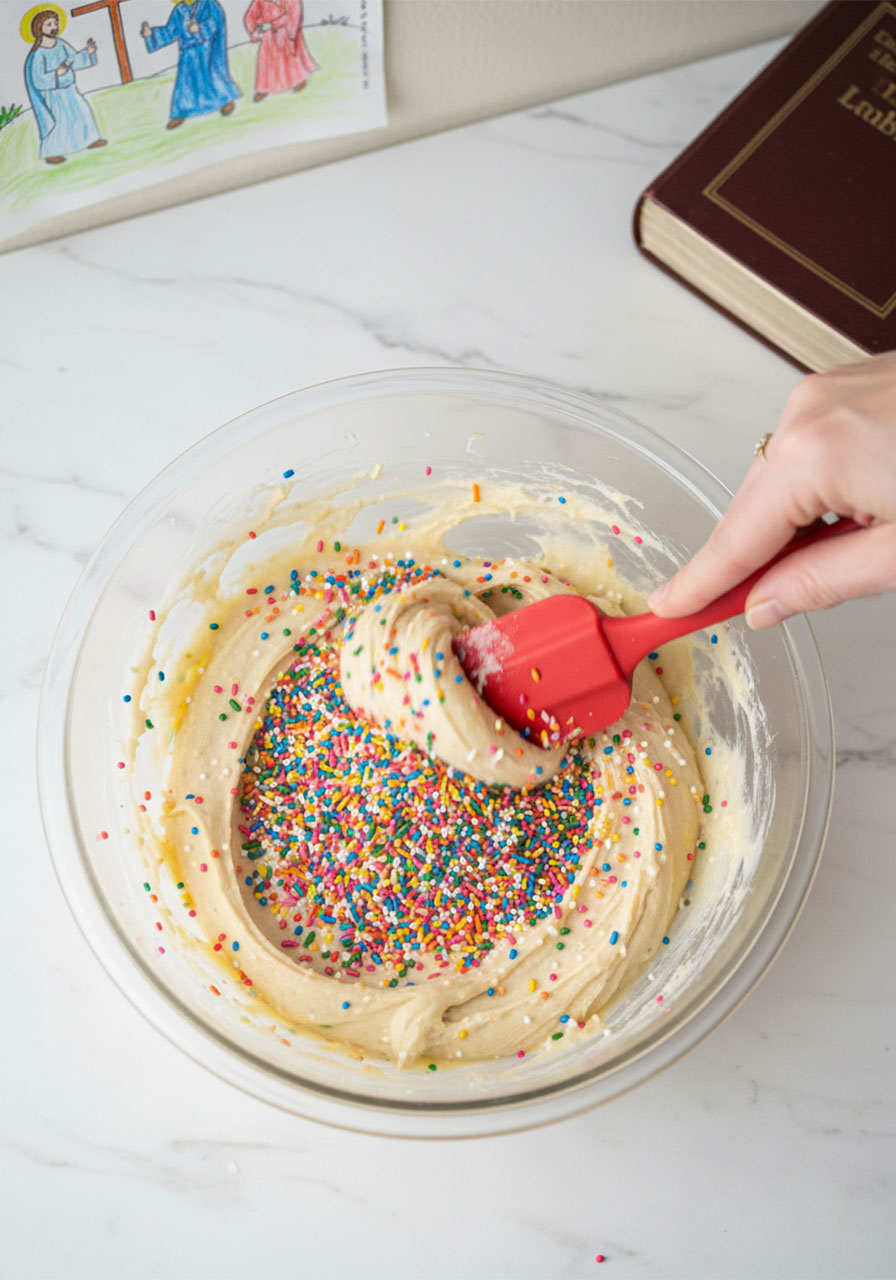
Step 5: Fold in the Sprinkles
Switch to a rubber spatula and gently fold in your sprinkles by hand. Folding rather than mixing keeps the sprinkles from bleeding too much color into the dough.
Step 6: Chill the Dough
Cover the bowl and place the dough in the refrigerator for 15 minutes. This is a quick but important step – chilled dough holds its shape better in the oven and results in thicker, chewier cookies.
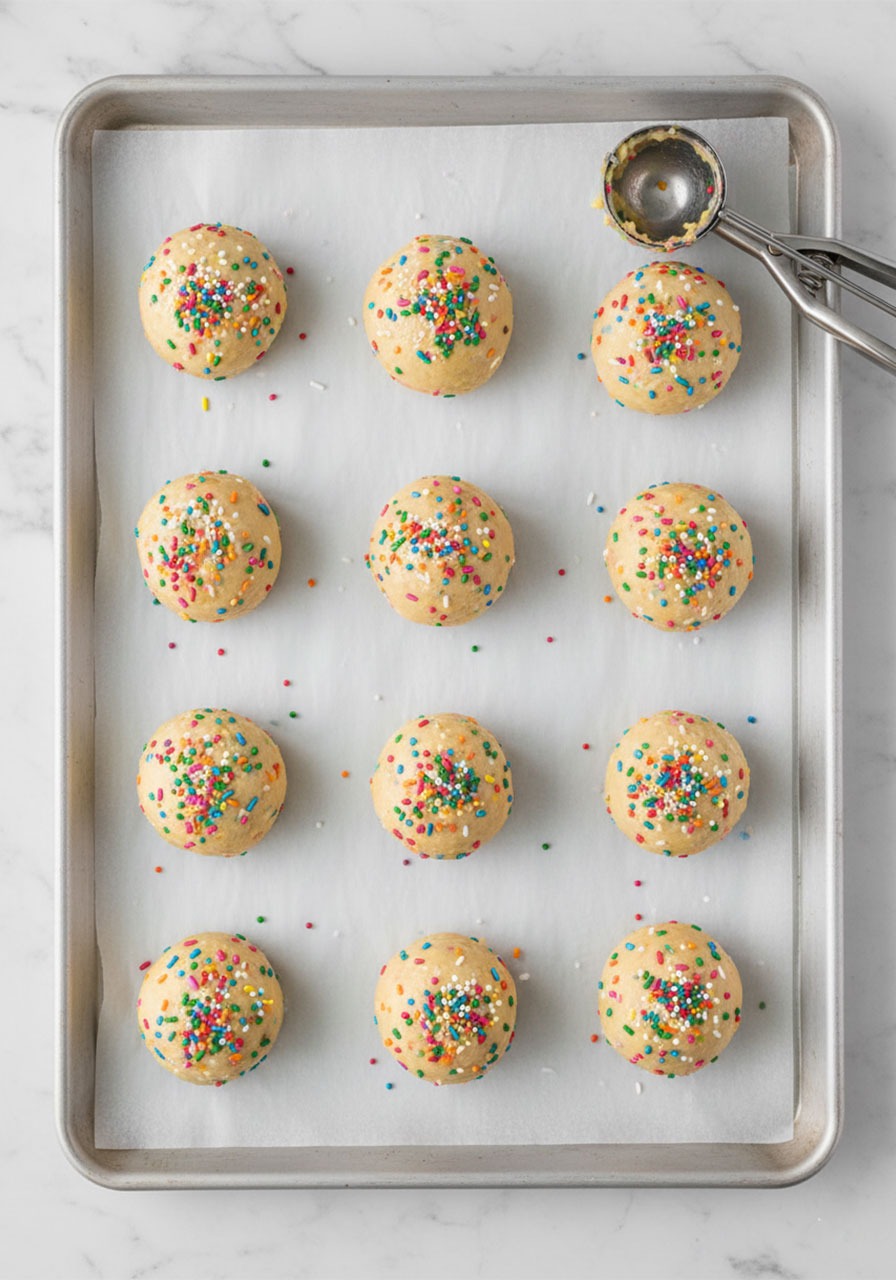
Step 7: Scoop and Bake
Use a medium cookie scoop (about 1.5 tablespoons of dough per cookie) to portion the dough onto your prepared baking sheet. Space each cookie ball about 2 inches apart.
Bake for 11–15 minutes, or until the edges are just golden brown. The centers may look slightly underdone – that’s what you want! They’ll firm up as they cool and you’ll end up with that gorgeous soft, chewy center.
Step 8: Cool and Enjoy
Let the cookies cool on the baking sheet for at least 10 minutes before moving them. They’re fragile when hot. Transfer to a wire rack to finish cooling completely.
Or don’t wait. We won’t judge. 🌈
Tips for Perfect Cookies Every Time
Don’t skip the chill time. Even just 15 minutes in the fridge makes a big difference. Warm dough spreads too fast in the oven and you end up with flat, thin cookies.
Pull them out a little early. If the edges look golden and the center still looks soft, take them out. The cookies will continue to set as they cool on the pan.
Use a cookie scoop. Even portions mean even baking. If some cookies are bigger than others, they’ll bake unevenly.
Don’t overmix. Once the flour goes in, mix only until just combined. Overworking the dough develops gluten (even in GF flour blends) and results in tougher cookies.
Room temperature butter is non-negotiable. Cold butter won’t incorporate properly. Set it out about 30 minutes before baking, or use the microwave trick mentioned above.
Can You Make These Into Cut-Out Cookies?
Yes – with a couple of small adjustments!
If you want to use cookie cutters, here’s what to change:
Omit the baking soda. Baking soda causes spread, which is fine for drop cookies but not for cut-outs. Keep the baking powder for lift.
Chill the dough longer. Aim for 30–45 minutes in the fridge. Cold dough is much easier to roll out and cut cleanly.
Roll to about 1/4 inch thick on a lightly floured surface.
Reduce bake time to 8–10 minutes. Cut-out cookies bake faster than drop cookies.
They make beautiful Christmas cookies, Easter cookies, Valentine’s Day hearts, or any shape your heart desires.
How to Decorate These Cookies
The sprinkles already make these cookies festive and beautiful on their own.
But if you want to take them further, here are some fun ideas:
Vegan vanilla buttercream: Pipe or spread a thin layer of frosting on cooled cookies for an extra special birthday cake vibe. You won’t need a full batch – about 1/4 of a standard recipe is plenty.
Extra sprinkles on top: Press a few extra sprinkles into the tops of the cookies right after scooping, before baking.
Colored sugar: Roll the dough balls in colored sugar before baking for a sparkly, crunchy exterior.
Holiday themes: Use red and green sprinkles for Christmas, pastel colors for Easter, or red white and blue for the 4th of July.
Storage and Make-Ahead Tips
These cookies store really well, which makes them perfect for meal prepping treats ahead of a busy week.
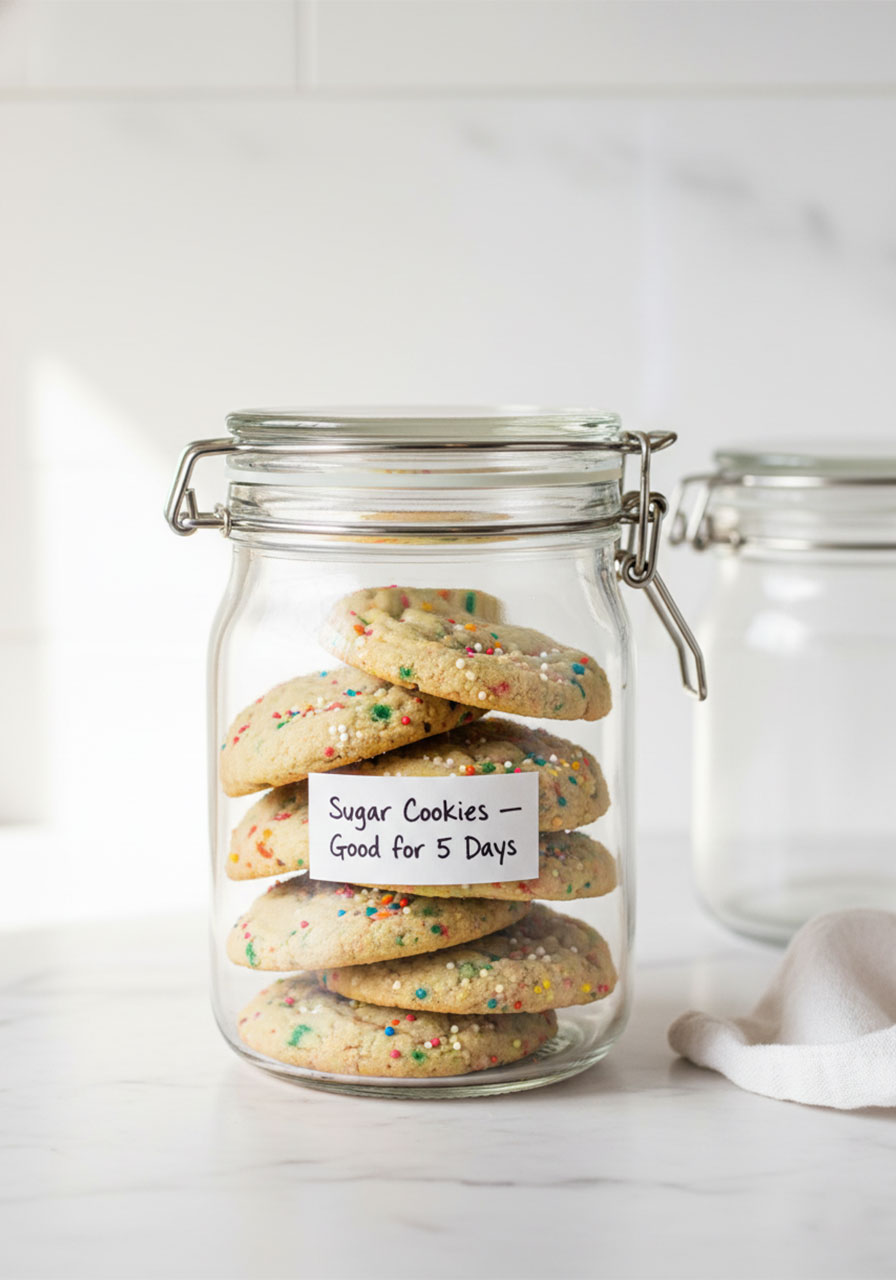
At room temperature: Store in an airtight container for up to 5 days. They actually get a little softer and more chewy on day 2 and 3, which some people prefer!
To reheat: Pop a cookie in the microwave for about 10 seconds. It’ll taste fresh-baked all over again.
Freeze the dough: You can freeze cookie dough balls on a sheet pan, then transfer them to a zip-lock bag. Bake from frozen – just add 2–3 extra minutes to the bake time.
Freeze baked cookies: These freeze beautifully for up to 3 months. Let them thaw at room temperature or warm in the microwave.
Common Questions
Can I use regular all-purpose flour instead of gluten free?
Yes! Regular all-purpose flour works just as well with the same measurements. The texture will be very similar – maybe even slightly chewier.
Can I use oil instead of vegan butter?
It’s not recommended. Butter provides both flavor and structure that oil can’t replicate. The cookies may spread too thin and taste flat without butter. Stick with vegan butter sticks like Earth Balance for best results.
What type of sprinkles should I use?
Jimmies (the rod-shaped sprinkles) hold their color better and don’t bleed as much. Non-pareils (tiny round sprinkles) are fun too but can bleed a little color into the dough. A mix of both is a great option! Just make sure any sprinkles you use are vegan-friendly – some contain confectioner’s glaze which is not vegan.
My dough seems too wet. What should I do?
Don’t add more flour! This dough is supposed to be soft and slightly sticky. Trust the chilling process – 15 minutes in the fridge will firm it up and make it much easier to scoop and shape.
Can I make the dough ahead of time?
Yes! You can make the dough up to 24 hours ahead and keep it covered in the fridge. You can also freeze the portioned dough balls and bake directly from frozen.
How do I know when the cookies are done baking?
Look at the edges – they should be golden brown. The centers may still look slightly underdone, and that’s perfectly fine. They’ll firm up and set as they cool. If you wait until the centers look fully set in the oven, they’ll end up overbaked and dry.
Are these cookies safe for kids with egg allergies?
Yes! There are no eggs in this recipe – apple sauce replaces the egg entirely. As always, check your individual ingredient labels for allergen information, especially with the sprinkles and flour.
Can I add other mix-ins besides sprinkles?
Absolutely. Mini vegan chocolate chips, crushed freeze-dried strawberries, or even a little lemon zest would be delicious additions. Just keep the total mix-in amount to around 4–5 tablespoons so the dough ratio stays balanced.
A Gentle Faith Note
One of the things I love most about baking is that it’s one of the simplest acts of love you can share with another person.
You took time. You used your hands. You created something from nothing – and then you gave it away.
“Each of you should use whatever gift you have received to serve others.” – 1 Peter 4:10
Whether these cookies end up on a birthday table, in a neighbor’s doorway, on a church potluck spread, or just shared with your own family on a slow Saturday morning – baking with intention is a small, beautiful act of stewardship and love.
Your kitchen can be a holy place. The people around your table are a gift. And yes, cookies absolutely count as a love language.
Quick Recap Checklist
✅ Set butter out to reach room temperature before starting
✅ Preheat oven to 350°F
✅ Cream butter and sugar for 30 seconds
✅ Mix in vanilla and apple sauce
✅ Add all dry ingredients and mix just until combined
✅ Gently fold in sprinkles with a spatula
✅ Chill dough 15 minutes in the fridge
✅ Scoop onto lined baking sheet, 2 inches apart
✅ Bake 11–15 minutes until edges are golden
✅ Cool on pan 10 minutes before transferring
✅ Share and enjoy!
Closing Encouragement
You don’t need a special occasion to bake something joyful.
Sometimes the most nourishing thing you can do – for yourself, your family, or your community – is slow down, get into the kitchen, and make something with your hands.
These cookies are bright, colorful, and full of sprinkle-covered happiness. They’re simple enough for a beginner and satisfying enough to make again and again.
May they bring a little sweetness and a whole lot of joy to whoever’s lucky enough to eat them. 🌈
Explore more wholesome recipes and faith-filled encouragement on the Christian Faith Goods blog.
A Short Prayer Before You Bake
Lord, thank You for the simple gift of food and the ability to create with our hands.
May what we make in this kitchen nourish the people we love.
May our home be a place of warmth, laughter, and generosity.
And may every sweet thing we share point back to the goodness of Your grace.
Amen.
Vegan Funfetti Sugar Cookies (Birthday Cake Cookies!)
Ingredients
Wet Ingredients:
- 1/2 cup vegan butter, room temperature (Earth Balance sticks recommended)
- 1/4 cup unsweetened apple sauce
- 3/4 cup granulated cane sugar
- 1 teaspoon pure vanilla extract
Dry Ingredients:
- 1 3/4 cups gluten free all-purpose baking flour (Bob's Red Mill 1-to-1 recommended; regular AP flour works too)
- 1 teaspoon corn starch
- 1 teaspoon baking powder
- 1/2 teaspoon baking soda
- 1/4 teaspoon salt
- 4–5 tablespoons rainbow sprinkles (jimmies, non-pareils, or a mix)
Instructions
- Preheat oven to 350°F (175°C). Line a baking sheet with parchment paper.
- Add room temperature vegan butter and granulated sugar to a large mixing bowl or stand mixer. Beat together for about 30 seconds.
- Beat in the vanilla extract and apple sauce until combined. The mixture may look slightly curdled – this is normal.
- Add the gluten free flour, corn starch, baking powder, baking soda, and salt all at once. Beat on low just until a soft dough forms. Do not overmix. Tip: spoon and level flour – do not scoop from the bag.
- Use a rubber spatula to gently fold in the sprinkles until evenly distributed.
- Cover the bowl and refrigerate the dough for 15 minutes.
- Use a medium cookie scoop (about 1.5 tablespoons) to portion dough onto the prepared baking sheet, spaced 2 inches apart.
- Bake for 11–15 minutes (about 13 minutes in most ovens), until edges are just golden brown. Centers may look slightly underdone – that's perfect.
- Cool on the baking sheet for 10 minutes, then transfer to a wire rack to cool completely.