
Vegan Recipes
Fluffernutter Cookies: The Gooey Vegan Peanut Butter Marshmallow Cookies Everyone Will Love
May
You know those days when you just need something warm, sweet, and a little indulgent? Maybe the week has been long. Maybe you want to do something kind for your family or a friend who needs a pick-me-up. Or maybe you just want to bake something that makes your kitchen smell like pure comfort.
These Fluffernutter Cookies are exactly that kind of treat.
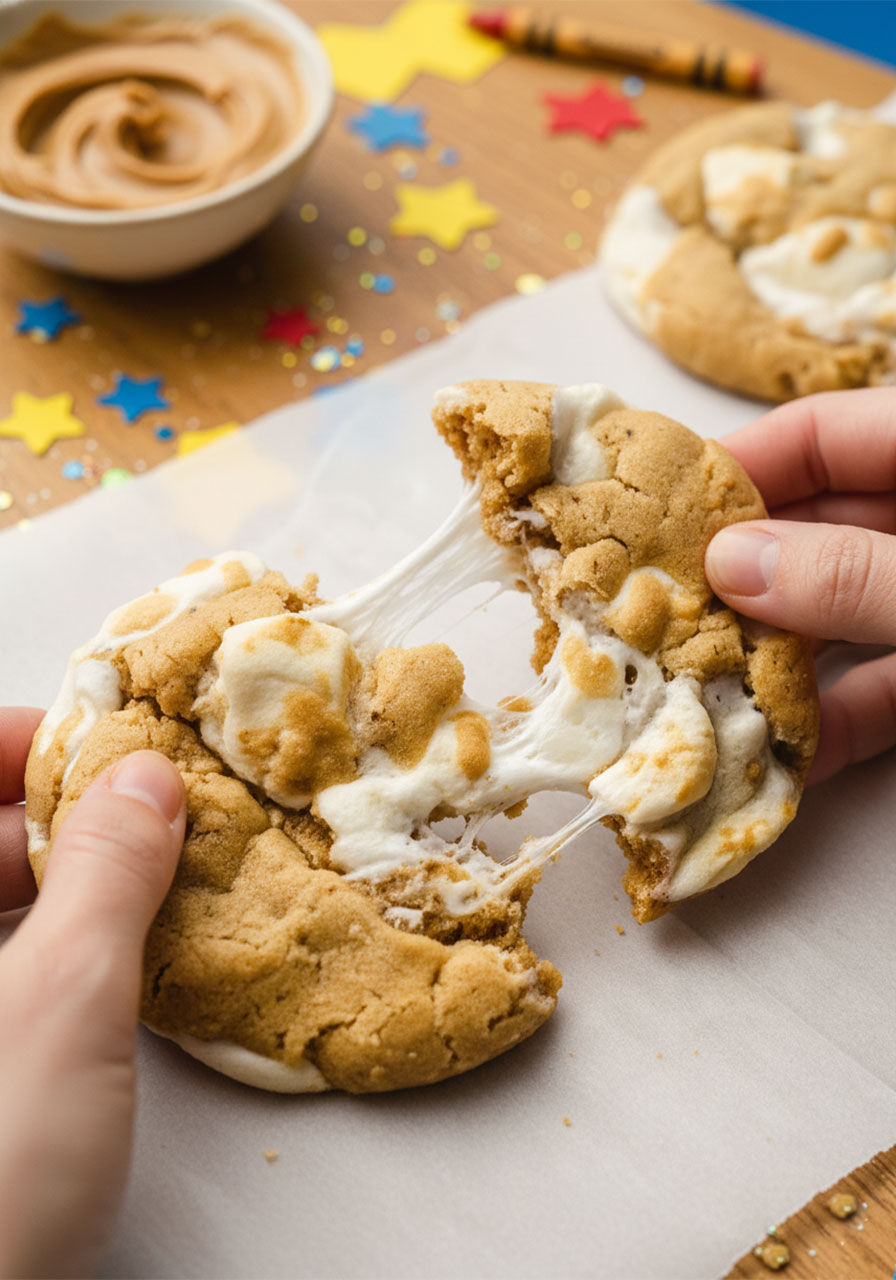
They’re soft, chewy vegan peanut butter cookies packed with gooey mini marshmallows. Every single bite pulls apart with that stretchy, toasted marshmallow goodness that makes you close your eyes for a second. They come together in under 30 minutes and are honestly one of the most crowd-pleasing cookies you’ll ever bake.
Whether you’re making them for your family, your small group, or just yourself after a hard day – these cookies bring a little joy. And sometimes, that’s exactly what we need.
“A joyful heart is good medicine.” – Proverbs 17:22
What You’ll Find in This Post
- What a fluffernutter actually is
- Full ingredients list with substitutions
- Step-by-step baking instructions
- Fun mix-in ideas to customize your cookies
- Storage and make-ahead tips
- FAQs and troubleshooting
- A complete printable-style recipe card at the bottom
What Is a Fluffernutter?
If you didn’t grow up eating these, you might be wondering what the name even means.
A fluffernutter is a classic American sandwich – peanut butter spread on one slice of white bread, marshmallow fluff on the other, pressed together into one gloriously sweet, sticky bite.
It’s the ultimate childhood comfort food.
These cookies capture that same combination of nutty peanut butter and pillowy-sweet marshmallow, but in cookie form. No bread required. Just a warm, gooey cookie that tastes like a hug.
Why You’ll Love This Recipe
There are so many reasons this recipe is a keeper. Here’s why it keeps showing up in kitchens again and again:
- Ready in under 30 minutes – 15 minutes of prep, about 11 minutes in the oven.
- 100% vegan – no eggs, no dairy, and they still come out perfectly chewy.
- Gluten-free friendly – just swap in a 1:1 GF flour blend and you’re good.
- Loved by all ages – kids go crazy for these. So do adults.
- Perfect for sharing – bring them to church potlucks, family dinners, or leave a plate on a neighbor’s porch.
These are the kind of cookies that get requested over and over again. Don’t be surprised when people ask for the recipe.
Ingredients You’ll Need
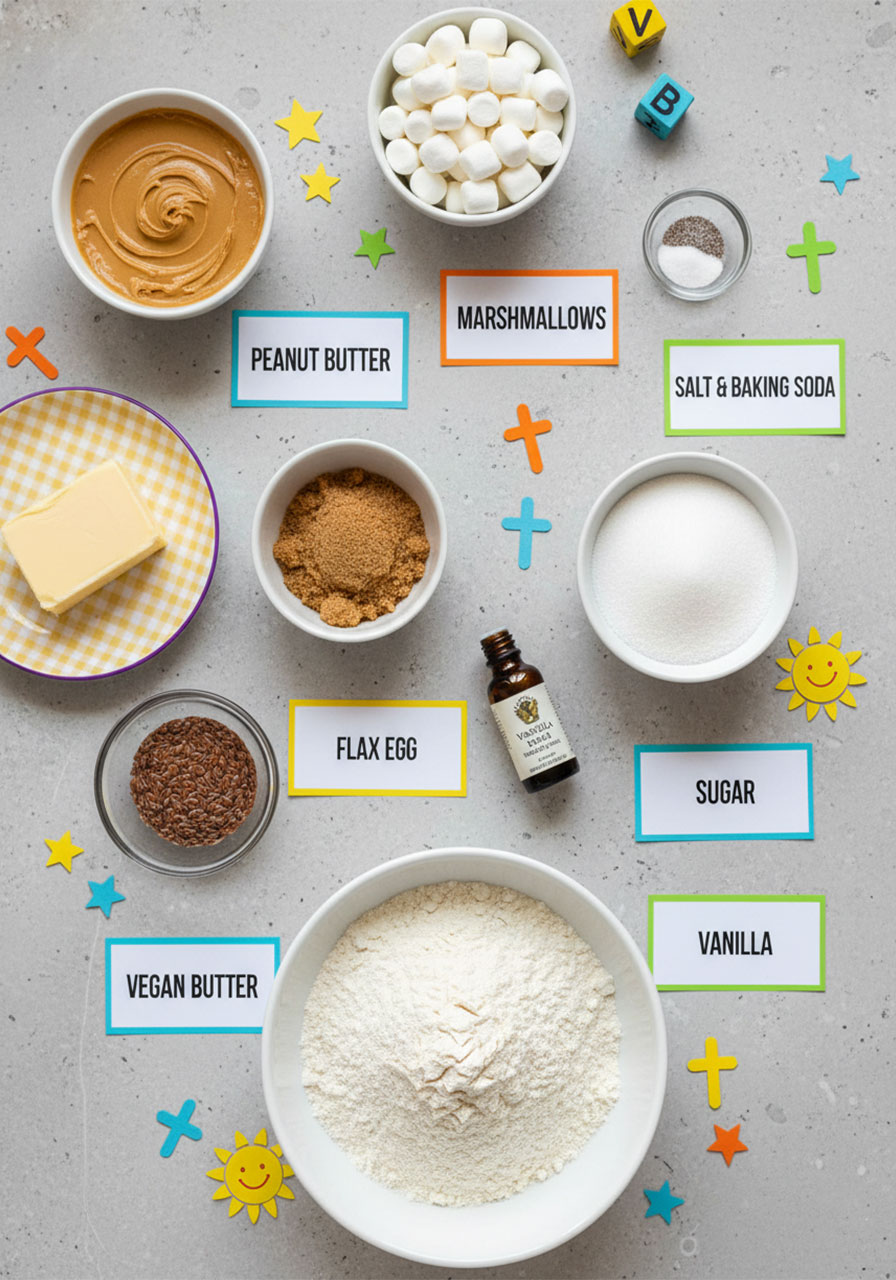
The ingredient list is simple and the substitutions are flexible. Here’s everything you need:
The Cookie Base
- ½ cup vegan butter, softened – Miyoko’s brand works beautifully here. Any plant-based butter will do.
- ½ cup granulated sugar – for sweetness and a slightly crisp edge.
- ½ cup packed light brown sugar – adds that warm, molasses-like depth of flavor.
- ½ cup creamy peanut butter – stick with a regular (not natural) brand for best texture. Almond butter or sunflower seed butter also work.
- 3 tablespoons JUST Egg (or 1 flax egg) – this is what binds everything together and makes the cookies beautifully chewy. To make a flax egg: mix 1 tablespoon ground flax with 2.5 tablespoons water, let sit 5 minutes.
- 1 teaspoon pure vanilla extract
- 1½ cups all-purpose flour – or use a gluten-free all-purpose flour blend.
- 1 teaspoon baking soda
- ½ teaspoon salt
The Star of the Show
- 1½ cups mini vegan marshmallows – Dandies brand and Trader Joe’s both make vegan marshmallows. These melt into the cookies as they bake and create that incredible gooey, stretchy texture.
A note on peanut butter: Natural peanut butter (the kind with oil separation) tends to be too runny or thick and doesn’t bake as reliably. Stick with a conventional creamy peanut butter like Jif or Skippy (or their plant-based equivalent) for best results.
How to Make Fluffernutter Cookies – Step by Step
These come together quickly. Read through the steps once before you start, then dive in.
Step 1: Preheat and Prep
Preheat your oven to 350°F. Line two baking sheets with parchment paper or silicone mats. Set aside.
Step 2: Cream the Butter, Sugars, and Peanut Butter
In a large bowl using a handheld mixer (or a stand mixer with the paddle attachment), beat together the softened vegan butter, granulated sugar, brown sugar, and peanut butter for 1–2 minutes.
You’re looking for a creamy, fluffy mixture. It should look lighter in color and feel airy. This step matters – don’t rush it.
Step 3: Add the Egg Replacer and Vanilla
Add your JUST Egg (or prepared flax egg) and vanilla extract to the bowl. Mix until everything is just combined. Scrape down the sides as needed.
Step 4: Mix in the Dry Ingredients
Add the flour to the bowl, then sprinkle the baking soda and salt on top.
Turn the mixer to low speed and mix until just combined. Don’t overmix – once the flour disappears, stop. Scrape the bottom of the bowl to make sure everything is incorporated.
Step 5: Fold in the Marshmallows
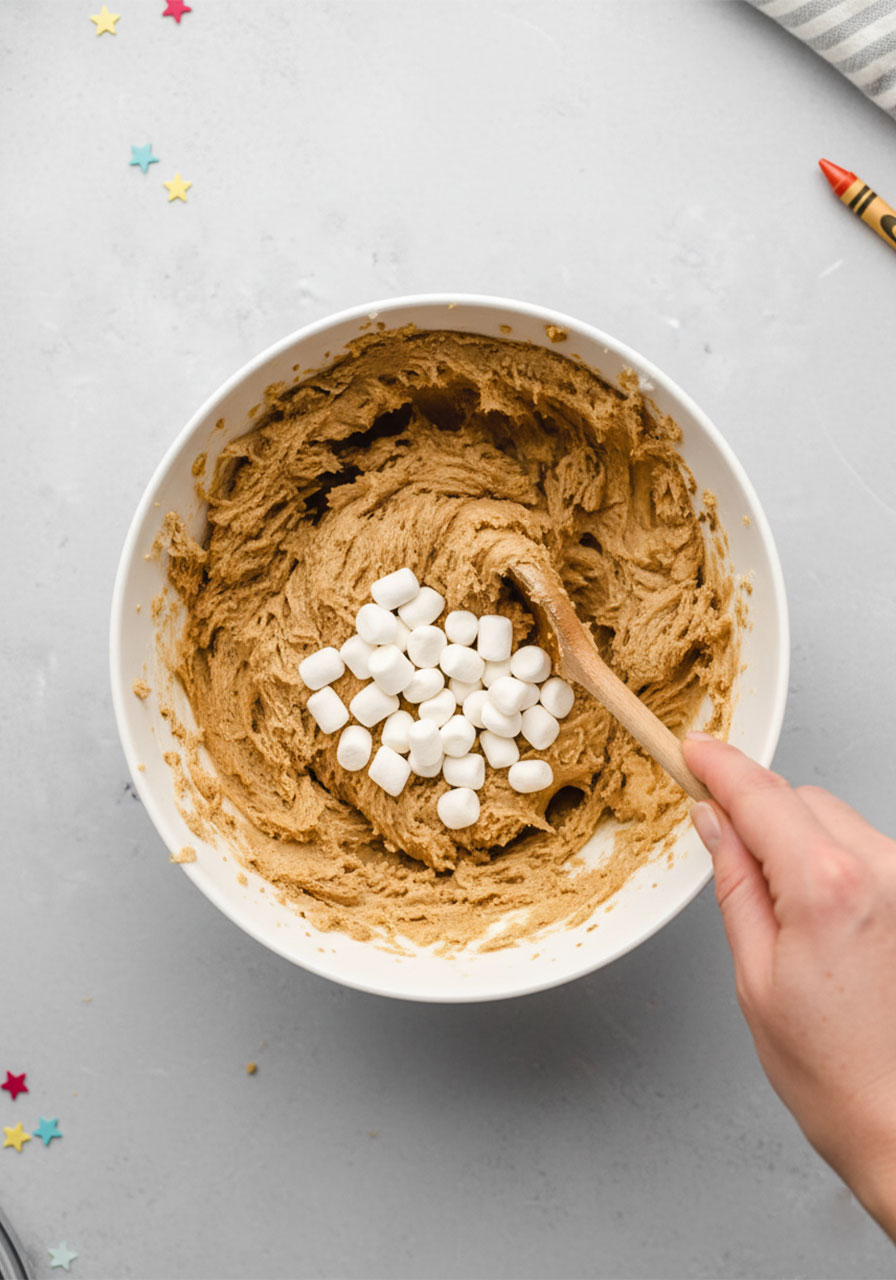
This is the fun part. Pour in the mini marshmallows and fold them into the dough using a spatula or your hands.
They can be a little stubborn to mix in – that’s normal. Just keep folding until they’re evenly distributed throughout the dough.
Step 6: Scoop and Shape
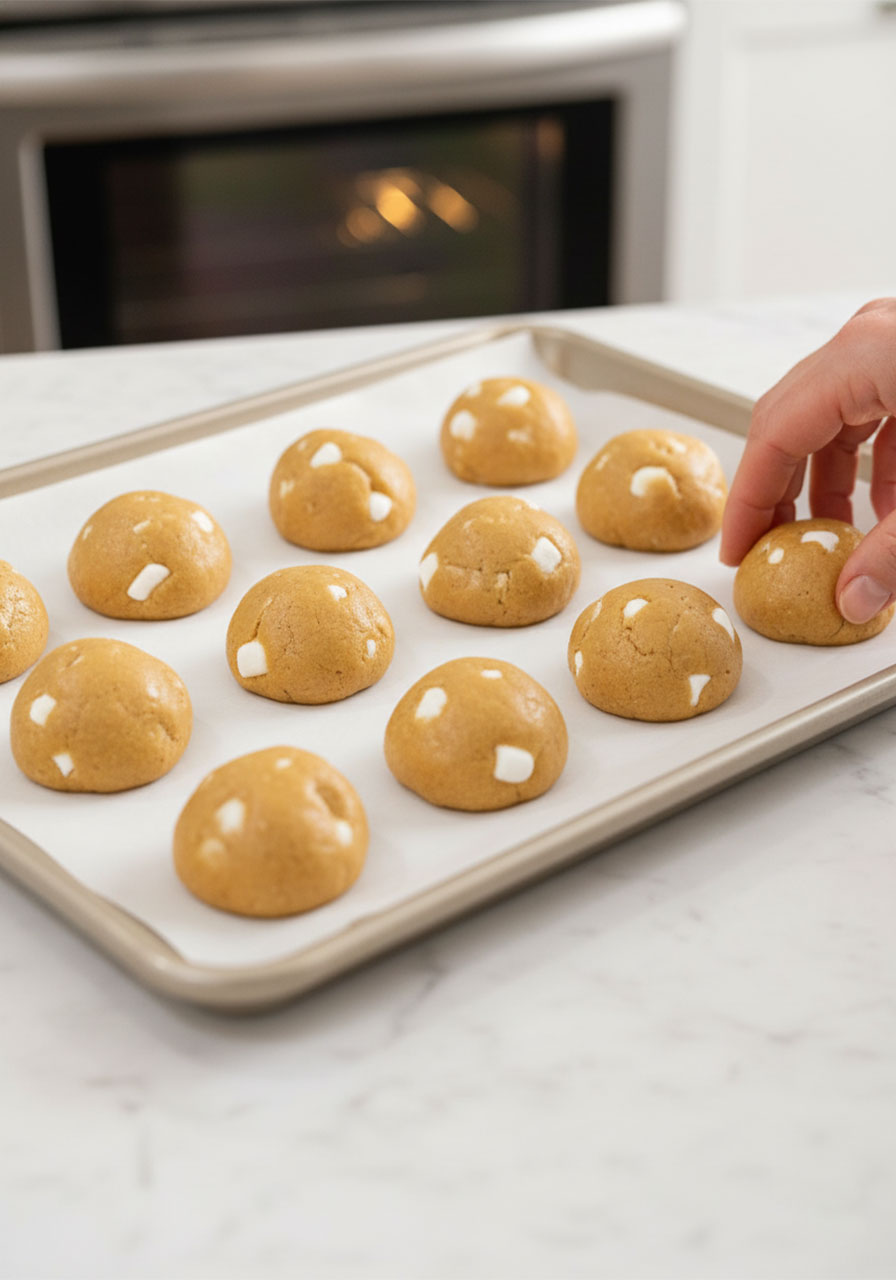
Scoop about 2 tablespoons of dough and quickly roll it into a ball. The marshmallows can make this a little sticky, so work fast.
Place the dough balls on your prepared baking sheets a few inches apart. They’ll spread as they bake.
Step 7: Bake
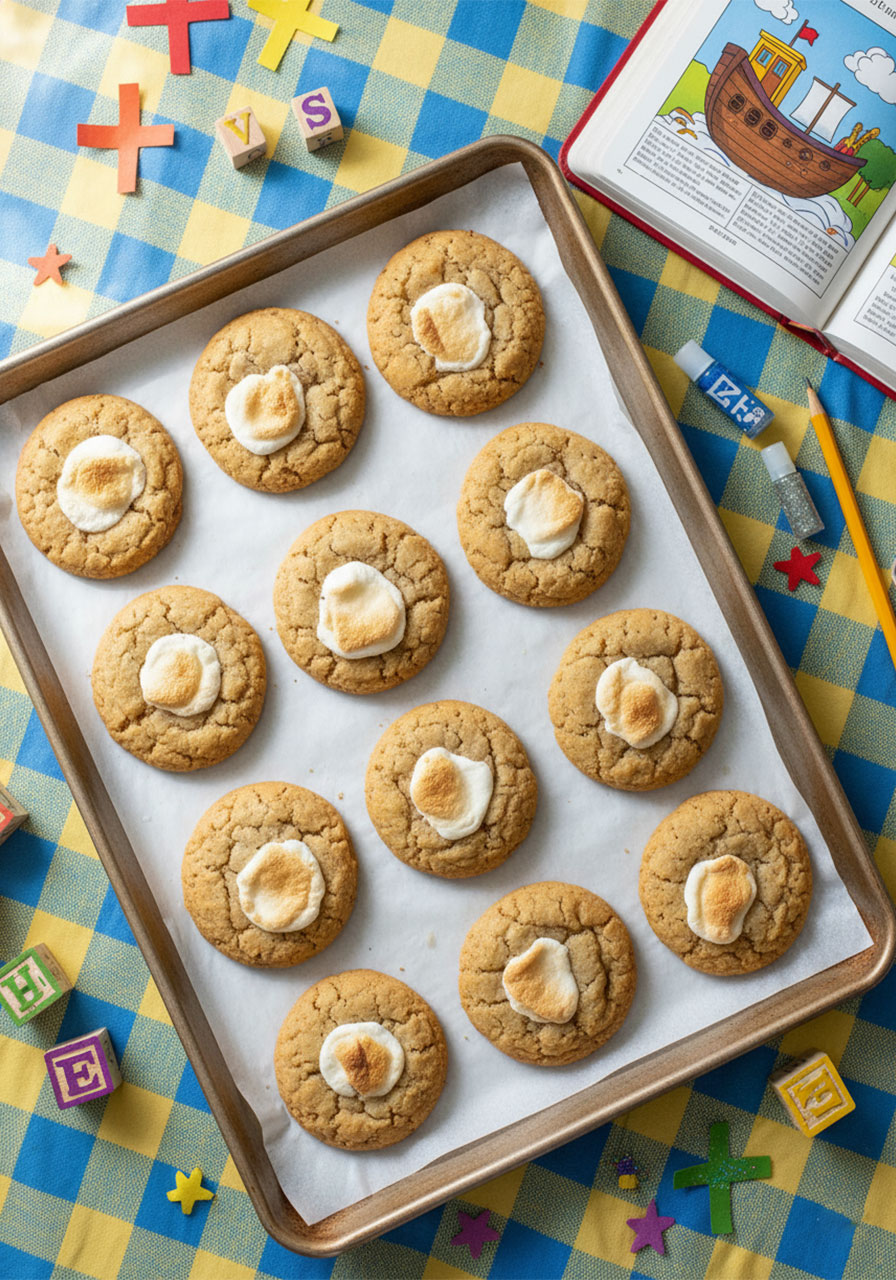
Bake one tray at a time on the center rack for 11–12 minutes, until the edges are just beginning to turn golden brown.
The cookies will still look very soft when you pull them out of the oven. That’s exactly right. They firm up as they cool, so resist the urge to overbake them.
Step 8: Cool and Enjoy
Let the cookies rest on the baking sheet for about 5 minutes before transferring to a cooling rack.
Or, you know, eat one warm straight off the pan. We won’t judge.
What Happens to the Marshmallows When They Bake?
This is the magic of these cookies.
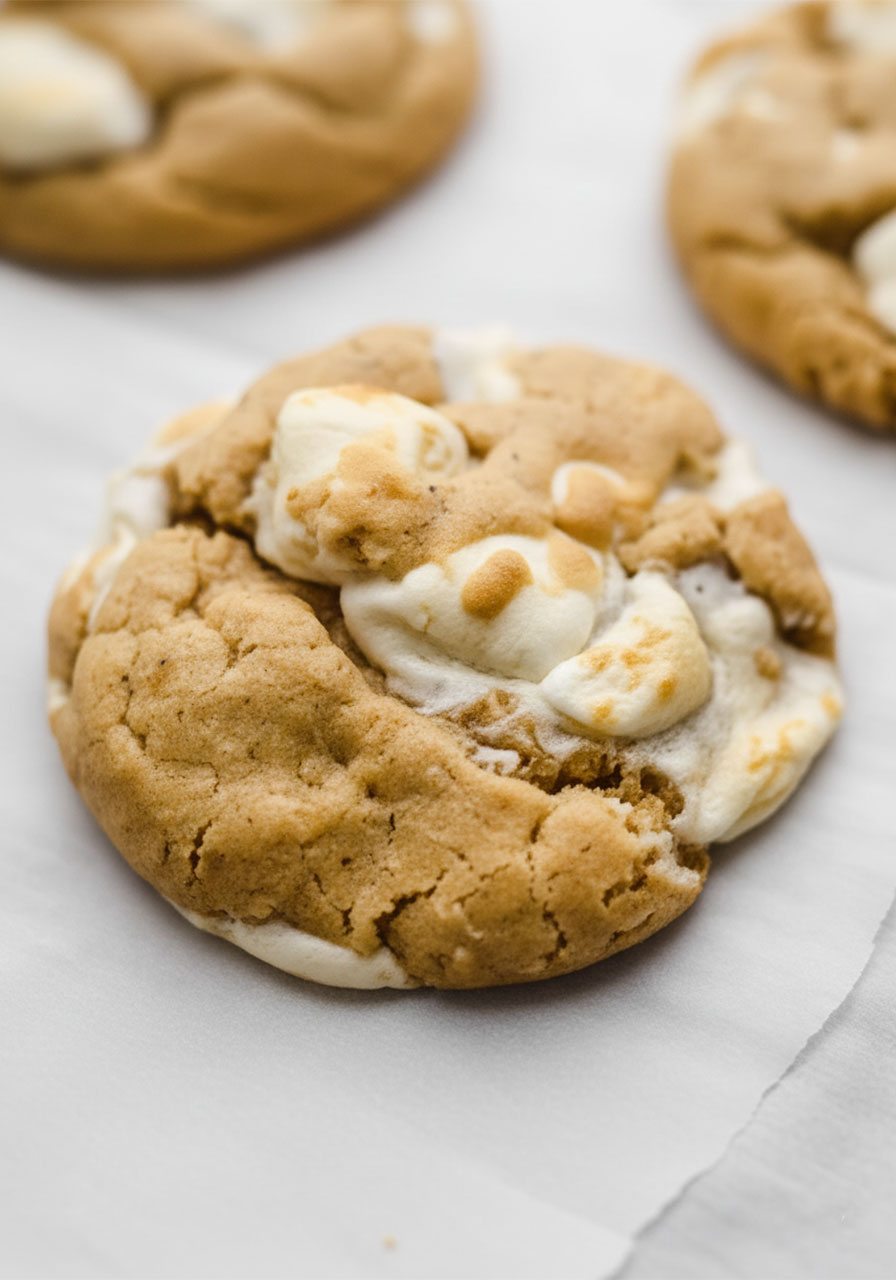
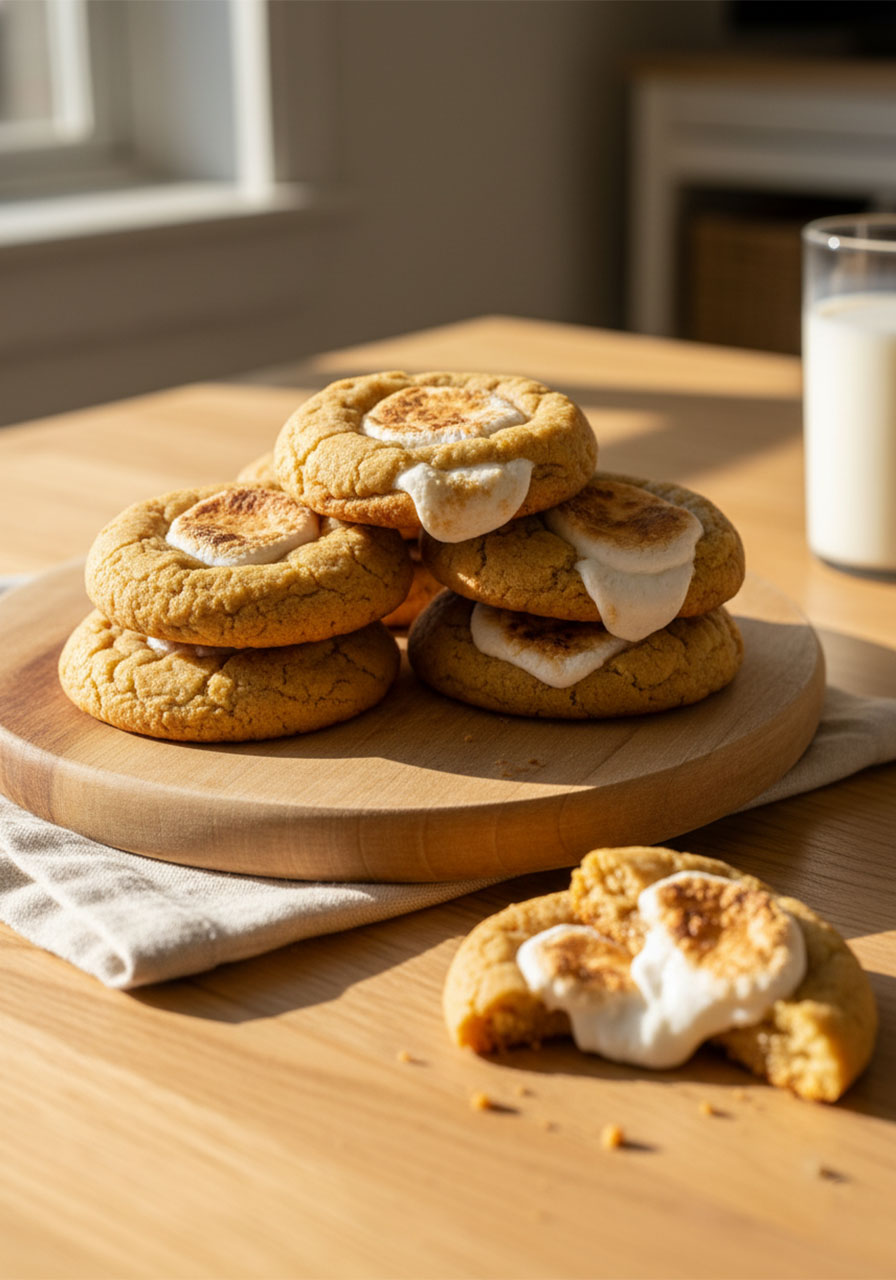
The mini marshmallows melt and puff up during baking, then as the cookies cool, they settle into soft, gooey pockets throughout the cookie. Some marshmallows bubble to the surface and get lightly toasted. Others stay tucked inside and stay pillowy soft.
The result is a texture unlike any other cookie – chewy peanut butter dough with stretchy, sweet marshmallow in every single bite. It’s nostalgic and totally irresistible.
Fun Mix-In Ideas
These cookies are amazing as-is. But if you want to get creative, here are some add-ins that pair beautifully with peanut butter and marshmallow:
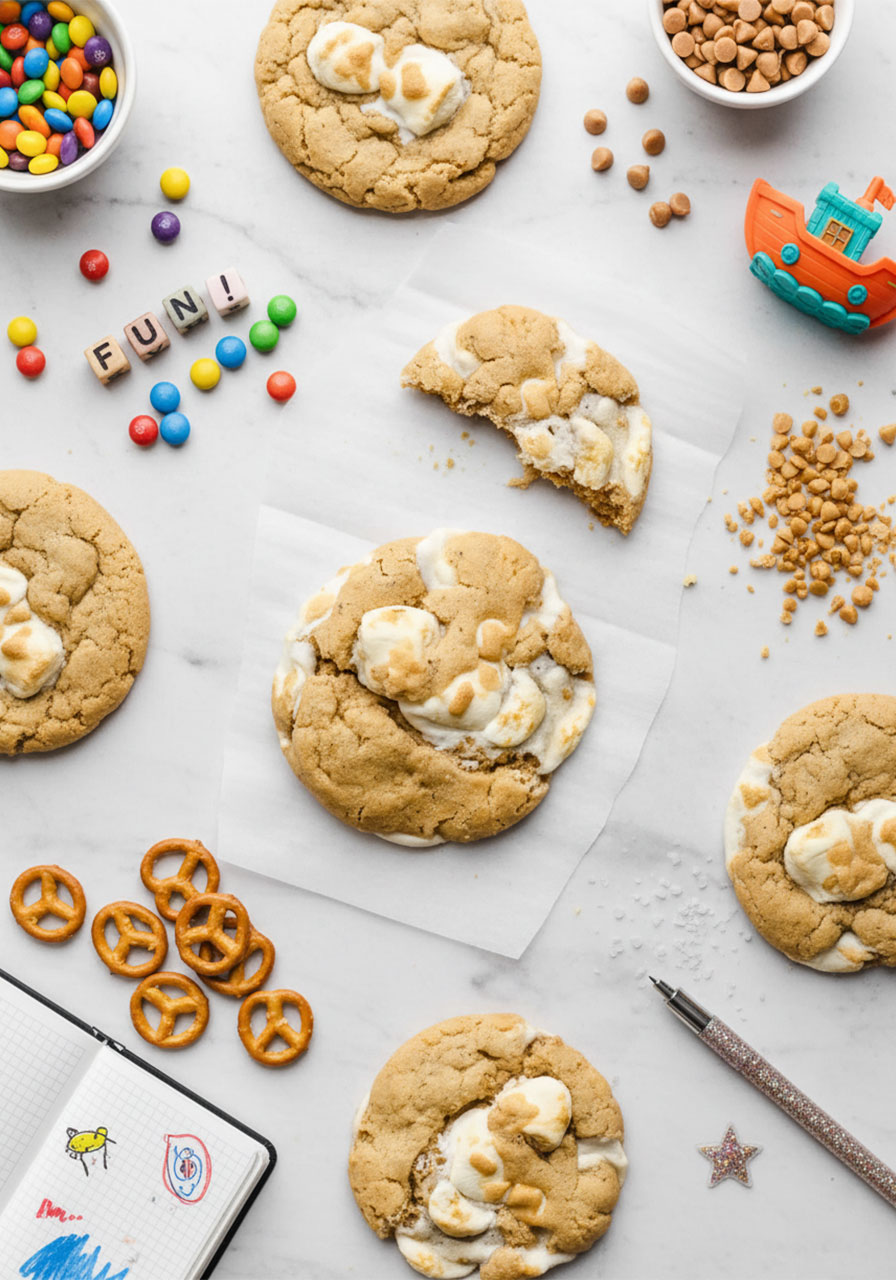
- Mini chocolate chips – Enjoy Life brand is dairy-free and melts perfectly.
- Vegan peanut butter chips – for extra peanut butter intensity.
- Vegan toffee bits – adds a buttery, caramel crunch.
- Chopped pretzels – sweet + salty = perfection.
- Small vegan caramels, chopped – stretchy and rich.
- Flaky sea salt – sprinkle on immediately after baking for a bakery-level finish.
Stick to one mix-in at a time so the peanut butter and marshmallow flavors stay front and center.
Tips for Perfect Fluffernutter Cookies Every Time
A few things that make a real difference:
- Use softened butter, not melted. Softened butter creams properly and gives you that ideal chewy texture. Melted butter will make the cookies too flat.
- Don’t skip the creaming step. Beat the butter, sugars, and peanut butter for the full 1–2 minutes. This creates structure in the cookie.
- Work quickly with the dough balls. The marshmallows can make the dough a bit sticky. Wet hands or lightly greased hands help.
- Bake one tray at a time. This ensures even baking and the best texture.
- Don’t overbake. Pull them out when the edges are golden, even if the centers look underdone. They’ll set up perfectly as they cool.
How to Store These Cookies
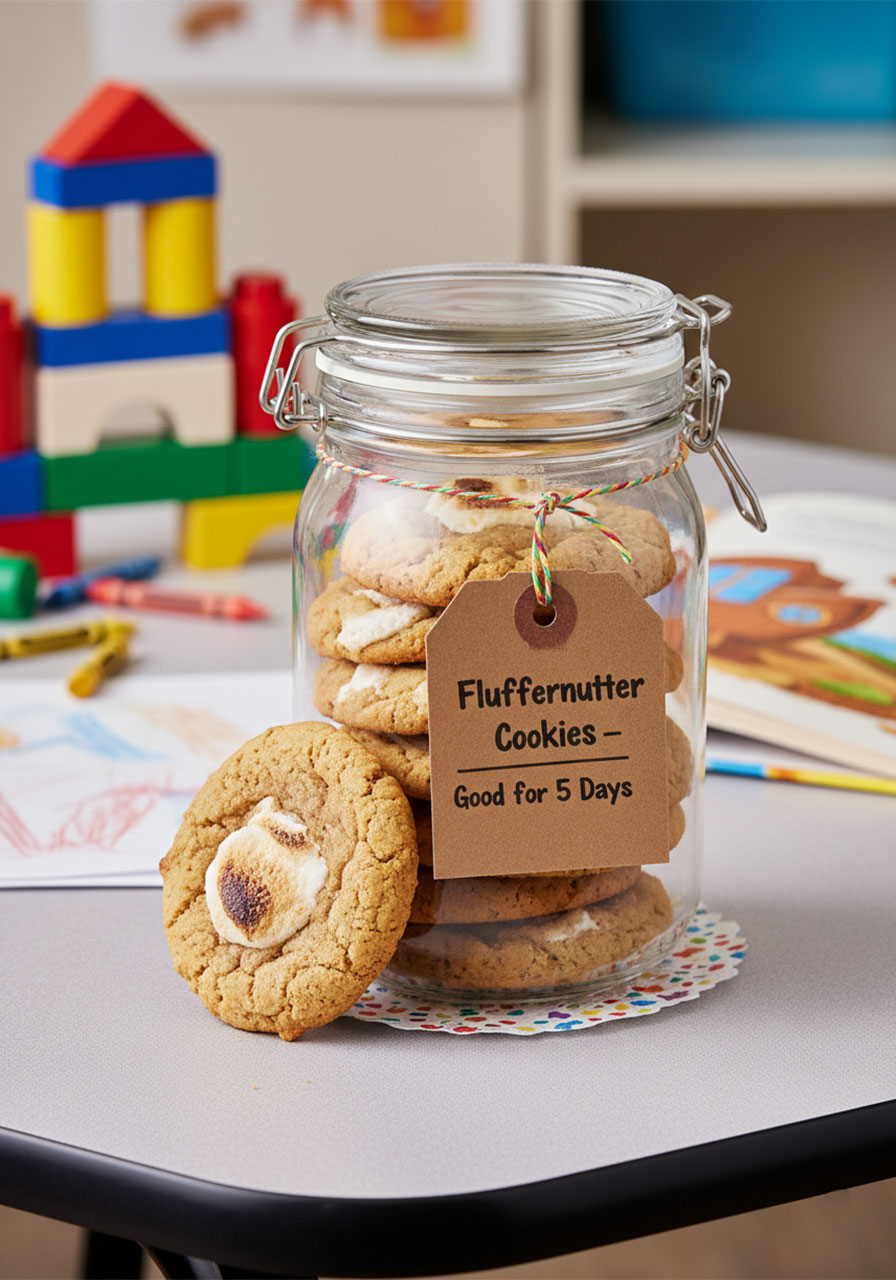
Store baked cookies in an airtight container at room temperature for up to 5 days. They stay soft and chewy – the marshmallow inside actually helps keep them moist.
You can also refrigerate them for a slightly longer shelf life. Just let them come to room temperature before eating, or warm them in the microwave for 10–15 seconds.
Can You Freeze Fluffernutter Cookies?
Yes – and this is a great strategy when you want to have fresh cookies on demand.
To freeze baked cookies: Let them cool completely, then store in a freezer-safe container or bag for up to 3 months. Thaw at room temperature.
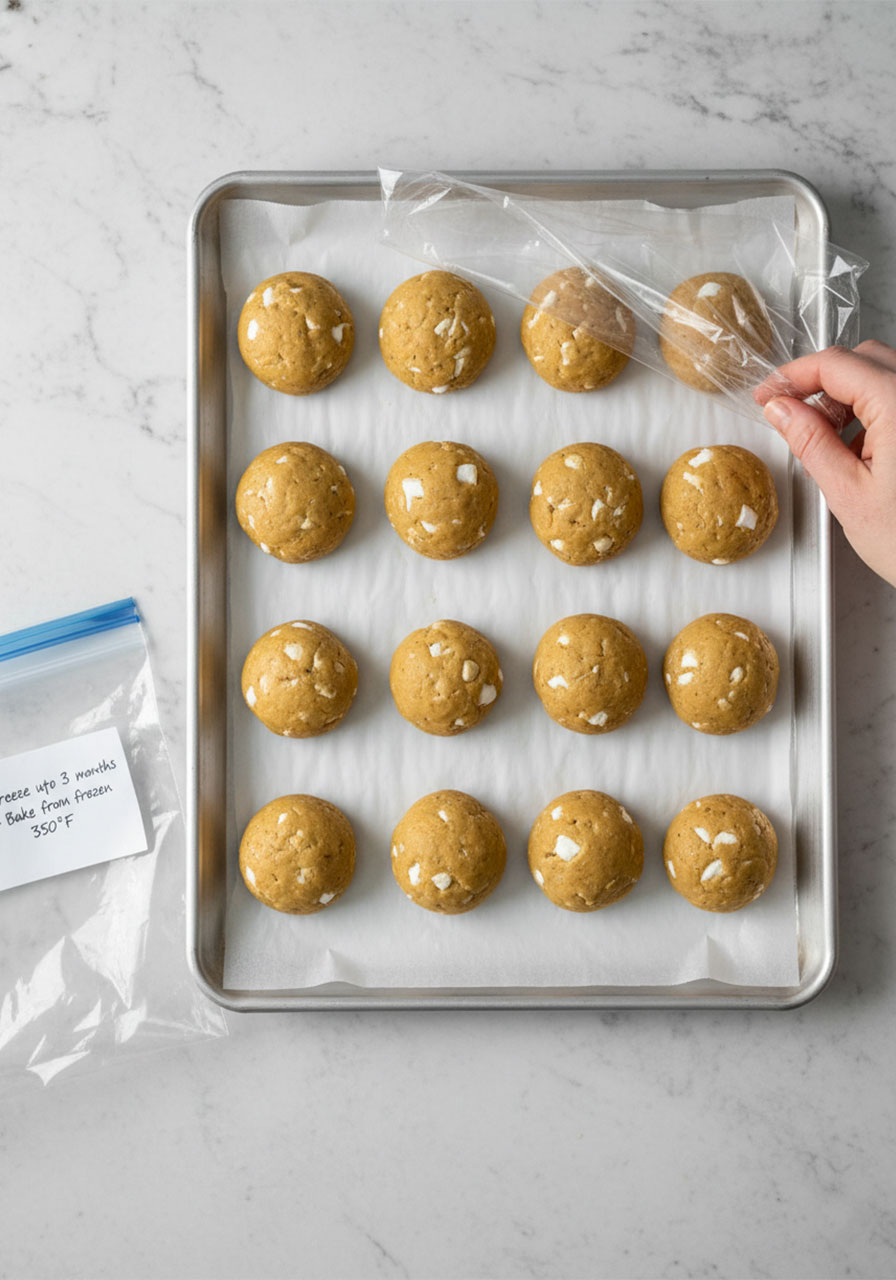
To freeze unbaked dough balls: Roll the dough into balls and place on a baking sheet. Freeze until solid (about 1–2 hours), then transfer to a freezer bag. They’ll keep for up to 3 months. Bake from frozen – just add 5–10 minutes to the bake time.
Having a stash of frozen cookie dough in the freezer is one of the best gifts you can give your future self. Warm, fresh cookies in 20 minutes, anytime.
A Faith Note: The Gift of Generosity in Small Things
There’s something quietly meaningful about baking for someone else.
It doesn’t have to be a big gesture. A plate of cookies left on a neighbor’s doorstep. A batch brought to your church’s coffee hour. A treat made for your kids just because you love them and wanted them to feel it today.
These small acts of kindness – made with your own hands, from simple ingredients – are a beautiful way to love the people around you. They’re tangible. They’re warm. They say: I thought of you.
“Each of you should use whatever gift you have received to serve others, as faithful stewards of God’s grace in its various forms.” – 1 Peter 4:10
Baking is a gift. Sharing it is even better.
Frequently Asked Questions
Are these cookies actually vegan?
Yes! The recipe uses vegan butter, a plant-based egg replacer, and vegan marshmallows (like Dandies or Trader Joe’s brand). Always double-check your specific marshmallow brand, as not all mini marshmallows are vegan.
Can I use regular (non-vegan) butter and eggs?
Yes. If you’re not following a vegan diet, you can substitute regular butter (softened) for the vegan butter, and 1 large egg for the JUST Egg or flax egg. The results will be very similar.
Can I use natural peanut butter?
It’s not recommended. Natural peanut butter with oil separation tends to be either too runny or too thick and can cause the dough to not come together properly. Stick with a conventional creamy peanut butter for best results.
Why are my cookies spreading too much?
A few common reasons: butter was too warm (make sure it’s softened, not melted), too little flour was added, or the dough wasn’t chilled. If your kitchen is warm, try refrigerating the dough for 20–30 minutes before baking.
Can I make these gluten-free?
Yes! Swap the all-purpose flour for a 1:1 gluten-free flour blend. The texture may be slightly different but still delicious. Several readers have made the GF version and loved it.
What if I can’t find vegan marshmallows?
Dandies and Trader Joe’s are the most widely available. You can also find them on Amazon. If vegan marshmallows aren’t important to you, regular mini marshmallows work exactly the same way in this recipe.
Can I add marshmallow fluff instead of mini marshmallows?
This hasn’t been tested in this recipe and isn’t recommended. Fluff has a very different consistency and may not bake the same way. Mini marshmallows are what give these cookies their distinctive gooey pockets.
How do I know when the cookies are done?
Look for edges that are just starting to turn golden brown. The centers will still look soft – that’s correct. They’ll firm up to the perfect chewy texture as they cool on the pan.
Final Encouragement
Whether you’re baking these to share with someone who needs a little love today, or simply treating yourself to something sweet – you deserve this moment of simple, joyful goodness.
Sometimes the most spiritual act is the most ordinary one: using your hands to make something beautiful, slowing down enough to enjoy it, and sharing it with the people around you.
These Fluffernutter Cookies won’t solve the hard things. But they’ll make the kitchen smell wonderful, they’ll make people smile, and they’ll remind you that sweetness and warmth are always worth creating.
Now go bake something good. You’ve got this.
Fluffernutter Cookies (Vegan Peanut Butter Marshmallow Cookies)
Ingredients
- ½ cup vegan butter, softened to room temperature (Miyoko's recommended)
- ½ cup granulated sugar
- ½ cup packed light brown sugar
- ½ cup creamy peanut butter (not natural/oil-separation style)
- 3 tablespoons JUST Egg – or 1 flax egg (1 tablespoon ground flax + 2.5 tablespoons water, rested 5 minutes)
- 1 teaspoon pure vanilla extract
- 1½ cups all-purpose flour (or 1:1 gluten-free flour blend)
- 1 teaspoon baking soda
- ½ teaspoon salt
- 1½ cups mini vegan marshmallows (Dandies or Trader Joe's brand)
Instructions
- Preheat the oven to 350°F. Line two baking sheets with parchment paper or silicone mats.
- In a large bowl using a handheld or stand mixer with the paddle attachment, beat together the softened vegan butter, granulated sugar, brown sugar, and peanut butter for 1–2 minutes until creamy and slightly fluffy.
- Add the JUST Egg (or flax egg) and vanilla extract. Mix until just combined, scraping down the sides of the bowl as needed.
- Add the flour, then sprinkle the baking soda and salt on top of the flour. Turn the mixer to low speed and mix until just combined – do not overmix. Scrape the bottom of the bowl.
- Fold in the mini marshmallows using a spatula or your hands until evenly distributed throughout the dough.
- Scoop 2 tablespoons of dough and quickly shape into balls. Place on the prepared baking sheets a few inches apart.
- Bake one tray at a time on the center rack for 11–12 minutes, until the edges are just starting to turn golden brown. The centers will look underdone – this is correct.
- Let cookies rest on the baking sheet for 5 minutes before transferring to a cooling rack. Serve warm or at room temperature.
Notes
- Do not use natural peanut butter – it affects texture and consistency.
- For gluten-free cookies, use a 1:1 GF all-purpose flour blend.
- Optional mix-ins: mini chocolate chips, vegan peanut butter chips, chopped pretzels, or a sprinkle of flaky sea salt after baking.
- Cookies will firm up as they cool. Do not overbake.
Storage
- Room temperature: Store in an airtight container for up to 5 days.
- Refrigerator: Up to 7–8 days. Warm briefly before serving.
- Freezer (baked): Cool completely, then freeze in an airtight container for up to 3 months. Thaw at room temperature.
- Freezer (unbaked dough balls): Freeze on a tray until solid, then transfer to a freezer bag. Bake from frozen, adding 5–10 extra minutes.
Nutrition (Per Cookie, Approximate)
Calories: 150 | Carbohydrates: 20g | Protein: 2g | Fat: 7g | Saturated Fat: 1g | Sodium: 164mg | Sugar: 12g | Fiber: 1g Nutrition information is approximate. This post is for informational purposes and is not medical or dietary advice.